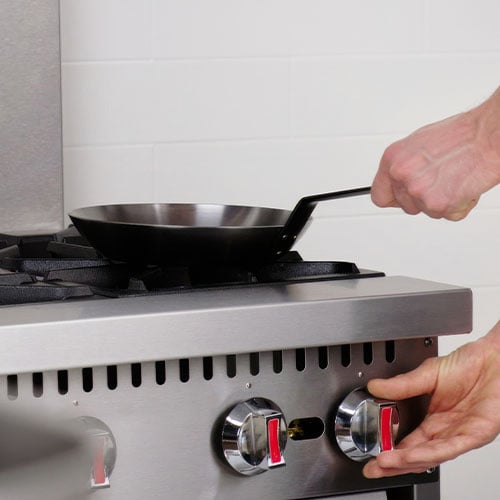
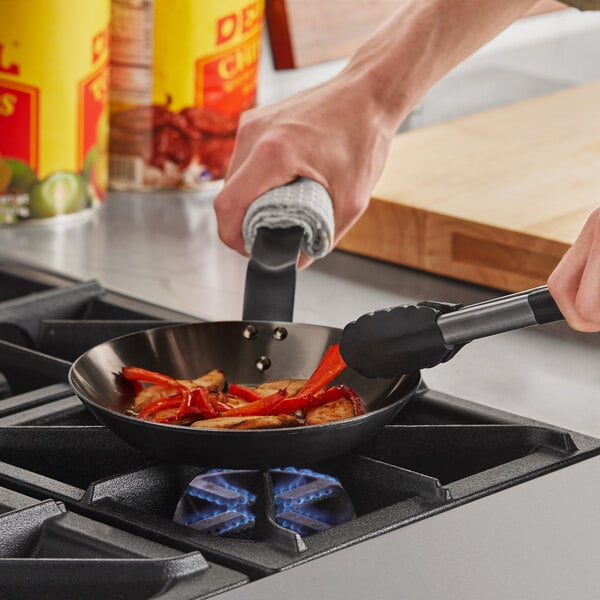
Seasoning a pan is a crucial step in maintaining its non-stick properties and preventing rust. Whether you're using cast iron, carbon steel, or stainless steel pans, proper seasoning is key to achieving professional results in your commercial kitchen. We created a resource to help you learn how to season different types of pans effectively and take your cooking to the next level.
Seasoning or curing a pan is the process of creating a natural, non-stick coating on the surface of the cookware. This is achieved by applying a thin layer of oil and heating the pan to a specific temperature, which polymerizes the oil and forms a protective layer that prevents food from sticking. Seasoning also helps to enhance the flavor of dishes cooked in the pan and improves its durability by protecting it from rust and corrosion.
Watch the following video to learn how to season pans in your kitchen using your oven or stove:
Play
Mute
Closed captions unavailable
Full screen
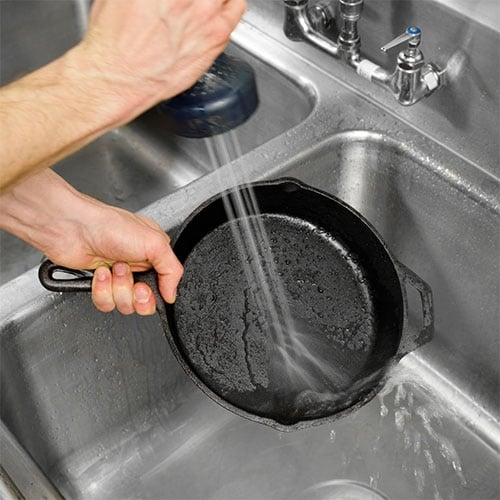
Before you can season a new pan, you'll need to clean it first. While some frying pans and skillets come pre-seasoned, many do not. You will find many pans arrive with a coating of wax or oil that manufacturers may apply to protect the pan during shipping. You'll want to remove this before cooking with the pan. Here are the steps you need to clean a new pan before seasoning:
Preheat your oven to 400 degrees Fahrenheit.
Thoroughly wash your new pans in hot, soapy water. You may need to use a stainless steel scrubber to clean cast iron skillets and heavy-duty carbon steel pans, while tin-plate and hard-coat aluminum pans will only require a dish towel to clean.
Rinse your pan and dry it with a clean towel.
Place the pan in your preheated oven for 15 minutes before continuing to make sure that it is completely dry.
Once your pan or skillet has dried completely, you can begin seasoning it according to the material type.
Not every type of frying pan or skillet requires seasoning. You'll want to season your pan if it is made of cast iron, carbon steel, hard-coat aluminum, or tin plate.
Seasoning a pan in the oven is a popular method for creating a non-stick surface that will improve the performance and longevity of your cookware. It is the preferred method for cast iron, hard-coat aluminum, and tin-plated pans. Follow these simple steps to properly season your pan in the oven:
Preheat your oven to the recommended temperature for your specific type of cookware. Typically, this will range from 300 to 500 degrees Fahrenheit, depending on the material of your pan.
If your pan is new, thoroughly wash, rinse, and dry your pan with a clean towel.
Place the pan in the oven for 15 minutes to dry fully.
When the pan is cool enough to handle, apply a thin layer of vegetable oil, canola oil, or flaxseed oil to the entire surface of the pan, including the bottom. (You may exclude the handle in most cases.)
Line a baking sheet with aluminum foil and place it on the oven's bottom rack to catch any drippings.
Place the pan on the middle rack of your preheated oven. You may choose to place the pan upside down to allow excess oil to drip off during the seasoning process.
Bake the pan for the recommended amount of time depending on the material of the pan. (See material-based instructions below)
For better seasoning, repeat steps 4-7 up to three times.
After the designated time has passed, turn off the oven and allow the pan to cool completely. This gradual cooling process helps the oil to polymerize and create a durable non-stick coating on the surface of the pan.
Once the pan has cooled, remove it from the oven and wipe it down with a clean cloth to remove any excess oil residue. Your pan is now seasoned and ready for use.
Seasoning cast iron cookware is essential to form a non-stick surface on the cookware, making it easier to cook with the pan. This seasoned layer also creates flavor that will build every time you season your cast iron pans. Here are step-by-step instructions for seasoning cast iron pans in the oven.
Preheat your oven to 400 degrees Fahrenheit.
Apply a thin coat of vegetable shortening or lard to the interior and exterior of the cast iron pan. Coat all of the areas except the handle.
Place a lined baking sheet on the bottom rack of your oven to catch any shortening or lard that drips down.
Put your coated cast iron pan or skillet on the middle rack.
Leave the pan in the oven for 45 minutes to an hour.
Remove the pan, wipe it dry with a clean cloth, and let it cool completely. (You can repeat steps 2-5 up to three times.)
Tip: Never put cold water in a hot or warm cast iron pan because it will cause the pan to warp or crack.
Hard-coat aluminum pans have been subjected to an electrolytic process, which makes these pans resistant to corrosion and very durable. To further protect your hard-coat aluminum pans, you can season them and create a non-stick surface. Here is how to season hard-coat aluminum pans.
Preheat your oven to 400 degrees Fahrenheit.
Apply a thin coat of vegetable shortening or lard to the interior and exterior of your hard-coat aluminum pan.
Place a lined baking sheet on the bottom rack of your oven.
Put the hard-coat aluminum pan on the middle rack of the oven.
Bake for 15-20 minutes. (Do not over-bake your hard-coat aluminum pans.)
Pull the pan out of the oven, wipe it dry with a clean cloth, and let it cool. (Do not wash off excess oil, simply wipe it off with a towel.)
You may need to season new pans 2-3 times until you reach the desired effect.
Tin-plate pans feature a thin sheet of stainless steel that is coated with tin, giving them excellent durability and corrosion resistance. Seasoning tin plate pans helps ensure that they have a non-stick surface. Here is the process for seasoning tin-plate pans.
Preheat your oven to 400 degrees Fahrenheit.
Apply a thin coat of vegetable shortening or lard to the inside and outside of the pan. Coat all areas except the handle of the pan (if applicable).
Place a lined baking sheet on the bottom rack of your oven.
Put the pan on the middle rack of the oven.
Bake for 15-20 minutes.
Remove the pan from the oven, wipe dry with a clean cloth, and let it cool completely. (A seasoned tin plate pan should have a dark brown or black color.)
You may need to season your pans 2-3 times before reaching the desired seasoning.
Note: Tin pans will rust if they're refrigerated, soaked in water, or left unseasoned in damp environments. Be sure to season your pans regularly and store them properly to prevent damage.
Back to TopSome pan materials can be seasoned on your stovetop rather than in your oven. This will help create a non-stick surface that will enhance your cooking experience and prolong the lifespan of your cookware. Use the following steps for seasoning a pan on the stove:
Start by choosing a medium to high smoke point oil such as vegetable oil, canola oil, corn oil, or shortening. Avoid using butter or olive oil as they have lower smoke points and can lead to a sticky residue on the pan.
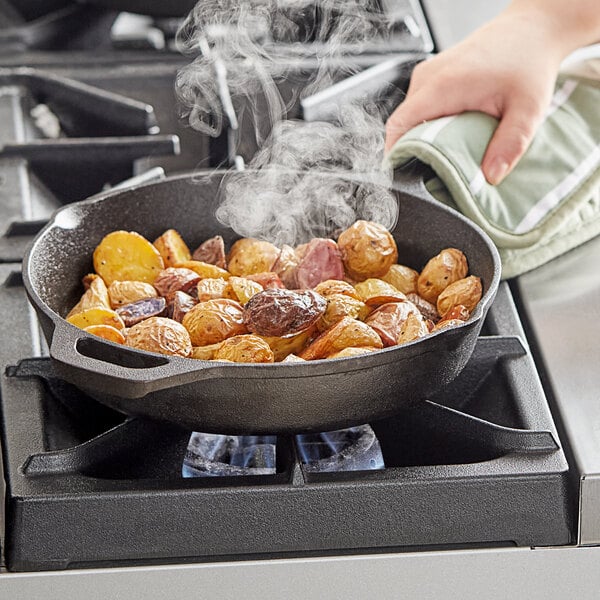
Place your pan on the stove over medium heat. Allow the pan to heat up gradually to ensure even seasoning.
Once the pan is warm, add a small amount of your chosen oil or shortening to the pan. Using a clean dry towel held by a pair of tongs, spread the oil evenly across the entire surface of the pan, including the sides.
Let the oil heat up until it starts to smoke slightly. This indicates that the oil is polymerizing and creating a protective layer on the pan's surface.
Turn off the heat and allow the pan to cool down completely. Once cooled, wipe off any excess oil with a clean paper towel.
Repeat the process of heating, oiling, and cooling the pan up to three times to build up a durable seasoning layer. Now your pan is ready for cooking!
Carbon steel pans are durable and prevent hot spots from forming while you're cooking your signature dishes. Seasoning a carbon steel pan helps ensure a non-stick surface. Below is a step-by-step guide to seasoning carbon steel pans on your stovetop. You can also use the following method for seasoning carbon steel woks.
It's important to note that seasoning a carbon steel pan, paella pan, or wok can create smoke, so be sure that your kitchen is well-ventilated before beginning.
Place your carbon steel pan on a range top burner over medium-high heat until hot.
Wisps of smoke will start to rise from the pan, and it will change color to a brownish hue.
Add a small amount of vegetable oil, shortening, or lard to the pan, wiping it all over the pan with a pair of tongs and a clean rag.
Once the pan is thoroughly coated, place the pan back on the burner over high heat.
Heat the pan until the fat begins to liquefy.
Remove the carbon steel pan from the heat, wipe away any excess oil, and let the pan cool.
Once completely cool, wipe the pan or wok clean with a dry paper towel.
Repeat these steps three more times for the best results.
Note: Carbon steel pans and woks are not dishwasher-safe, so be sure to always wash them by hand.
Here are some of the most common questions when it comes to seasoning pans:
While aluminum pans do not require seasoning like cast iron or carbon steel pans, hard-coated aluminum benefits greatly from the process. Aluminum is a non-reactive metal, so it does not rust or corrode like iron-based cookware. However, seasoning an aluminum pan can help create a non-stick surface and enhance its longevity.
While traditional cast iron and carbon steel pans benefit from regular seasoning to create a natural non-stick surface, non-stick pans, such as those coated with Teflon or ceramic, do not require seasoning. These pans come pre-coated with a non-stick surface that eliminates the need for seasoning. However, it is important to follow the manufacturer's instructions for care and maintenance to ensure the longevity of the non-stick coating. If food begins to stick to the pans, seasoning them occasionally can help enforce their non-stick properties. Avoid using metal utensils, harsh abrasives, or high-heat settings that can damage the non-stick surface. Regular cleaning with gentle dish soap and a soft sponge is usually sufficient to keep non-stick pans in top condition.
If your pans have been seasoned properly, cleanup should be relatively simple. Here are some tips for cleaning seasoned cast iron, carbon steel, aluminum, or tin frying pans.
Clean your pans while they're still warm to make the process easier.
All you need to clean a seasoned pan is hot water and a sponge, you should never use harsh chemicals.
Only use cloths or sponges to clean seasoned pans as abrasive scouring pads may scrub away some of the seasoning.
To deal with hard stuck-on stains, use a mild scouring pad only.
After cleaning a seasoned pan, re-apply a thin layer of vegetable oil to the pan.
Store your seasoned frying pans in a cool, dry place to prevent rust.
Seasoning your pans is essential for extending their lifespan and making their surfaces non-stick. Be sure to season your frying pans regularly to keep them properly maintained and protected.
Before your first use.
When food starts to stick to the surface.
The surface of the pan starts to look gray.
Rust is starting to form on the surface.
Additionally, you can design a schedule to season your pans regularly to ensure that they never lose their non-stick surface.
The process of reseasoning pans is the same as seasoning pans for the first time. Simply follow the instructions listed above for the specific type of pan you're reseasoning minus washing the pans in soapy water, which only needs to be completed on new pans.
These steps may be slightly different if your frying pans have started to rust. In this case, scrub the rust away with steel wool or a powerful abrasive and then clean any of the metal dust away. Once this is done, you can use the steps above to finish seasoning the pan.
Back to TopRelated Resources
Different Types of Pizza Pans
Pizza is beloved all over the country and served at many cafes, pizzerias, food trucks, restaurants, and bars. A key aspect of a pizzeria's success is using the right equipment and tools to make a good pizza that customers will love. One factor that impacts your pizza is the pizza pan you use, so it's necessary to understand the different types and styles available, the impact the pan's thickness can have, and the maintenance that will keep your pizza pans lasting longer and in the best condition possible. Shop All Pizza Pans
Types of Fry Pans
Frying pans are one of the most used and versatile pieces of cookware in the kitchen. They are great for cooking a wide range of foods, from eggs and pancakes to thick steaks, so having the correct types in your arsenal is necessary. You may already know all the types out there, but which frying pan type is the best for you? This guide will go over the best types of frying pans for a commercial kitchen and how to use and care for them to help make your decision easier. Shop All Frying Pans Use the following links to navigate this guide and learn more about frying pans: What Is a Frying Pan? Frying Pan Types Non-Stick Pan vs Stainless Steel Frying Pan Sizes
How To Season and Clean a Wok
After choosing the type of wok that works best for you, it's time to determine if your pan needs to be seasoned. Woks that are made of porous metals like cast iron and carbon steel must be seasoned before cooking to prevent rust. This article will provide you with detailed instructions for cleaning, seasoning, and caring for your new cookware. Shop All Woks Use these links to learn more about each aspect of cleaning and seasoning a wok. How to Season a Wok Video How to Season a Wok Why Season a Wok? How to Clean a Wok How to Clean a Wok After Use Best Oil For Wok How to Season a Wok Video If you're looking for a visual guide on how to clean and season a wok, check out our video below. How to Season a Wok Every chef has his or her own favori