July 2026 WebstaurantStore Coupon CodeThe official home for WebstaurantStore® coupon codes! Stay up to date on our latest coupon codes so you can get great deals on some of our most popular items.
Read More
What Is Kimchi?Kimchi is a traditional Korean fermented vegetable dish, most commonly made with napa cabbage, radishes, garlic, chili, and salt. Discover more about its uses and history!
Read More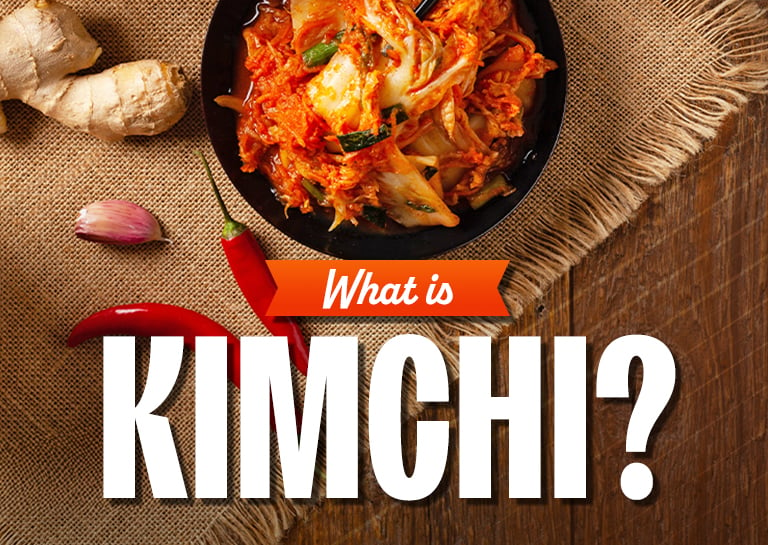
How to Make Hollandaise SauceMaster the art of hollandaise with this simple, step-by-step guide to creating a rich, velvety sauce from scratch. Learn how to elevate everything from eggs Benedict to vegetables with a classic French favorite that adds instant indulgence to your menu.
Read More
How to Make Burger PattiesBurgers are one of the most popular menu items in restaurants across the globe, and we'll teach you how to make the perfect burger patty in this blog.
Read More
Best Flour for Making PastaWe break down the best flours for different kinds of pasta so you understand what options are available and suited to your application.
Read More
Griddle vs GrillCommercial griddles and grills are two of the most common cooking equipment types used to build fast, efficient hot lines in foodservice operations. Discover the difference between these two key pieces of restaurant equipment!
Read More
What Is Omakase?Discover a comprehensive exploration of the principles and logistics involved in incorporating (or simply savoring) the art of omakase dining.
Read More