


Thanks to charcuterie boards, cured meats have risen to prominence. Not only are they on-trend, but they use cost-effective cuts and are an affordable way to enhance your menu. Plus, embracing the practice of curing meat aligns with the "nose to tail" movement, which emphasizes utilizing all parts of the animal, including cuts that might otherwise go to waste. We provide instructions on how your restaurant can cure meat and key regulations and standards, so you can offer the latest charcuterie trends.
Shop All Charcuterie & Cured Meats
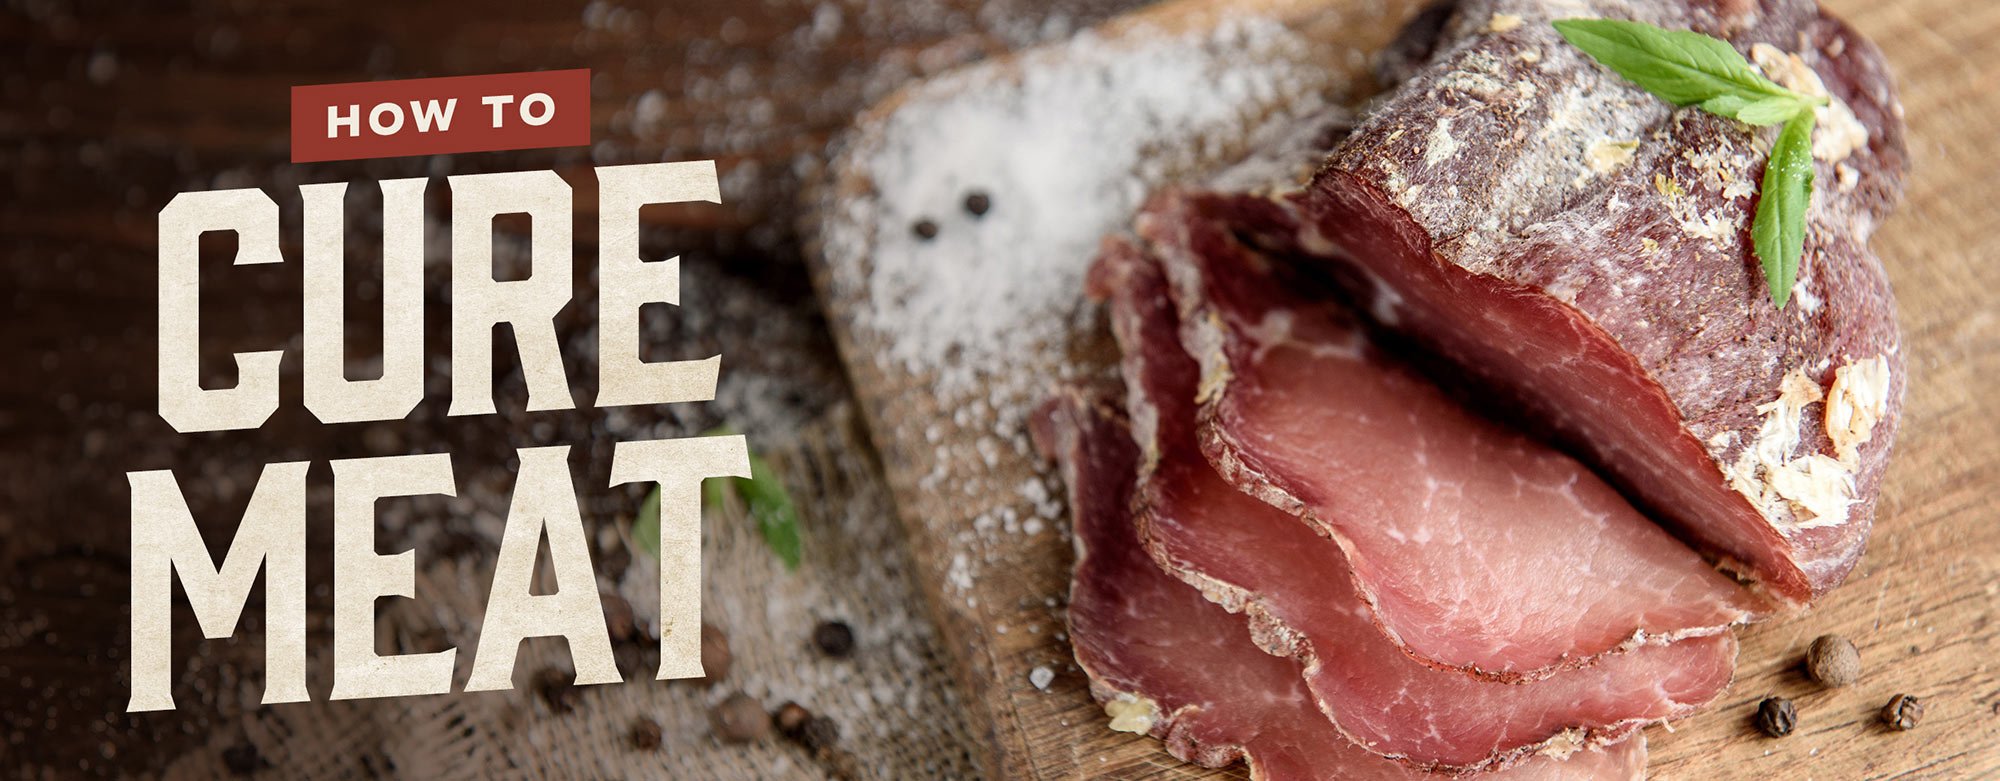
What Is Cured Meat?

Cured meat refers to any meat that's been preserved through the removal of moisture. By eliminating moisture from meat, it takes on new textural properties that are not conducive to the growth of bacteria. The most common way of achieving this is by using salt to draw the moisture out and create a new, more shelf-stable substance known as “cured meat.”
People have been curing meat for centuries, mainly to preserve their food. Especially before refrigeration, most cultures found ways of curing meats through processes that remove moisture from the food through salt. And you’ll still find specialty meat shops in Italy or other parts of the world that cure their meats in cellars or other cool environments that aren’t necessarily refrigerated.
While certain types of meats will only cure properly if stored at room temperature, most meats should always be stored in cold environments, like walk-in refrigerators.
How to Cure Meat with Salt
Salt was once more valuable than gold because it has the power to prolong the shelf life of otherwise perishable foods. The centuries-old practice of preserving foods with curing salt is simple to do and has been perfected over the years to create some of consumers' favorite delicacies like prosciutto and pancetta. We outline the steps in the curing process below so you create house-cured meats.
1. Salt the Meat
There are two methods for curing meat with salt: dry curing and equilibrium curing. We explain how to do both below. No matter which method you choose, the basic result should be pretty much the same. Once the meat has had ample time to sit, you'll notice that the texture will change dramatically. It should become tougher and dryer. Most butcher shops include Prussian #2 in their curing salt to extend the shelf life of their cured meats. While this inclusion isn't always required, it is necessary when curing sausages or mixed meats. Even when it's optional, it's advisable to use Prussian #2 because nitrates prevent against botulism in cured meats.
- Dry Curing - To dry cure meat with salt, cover it entirely in salt for a full day. To make sure the meat is completely covered, fill a container with salt, place the meat on top, and pour more salt over it until it’s buried. You can also add some flavorings (like celery seed and black pepper) at this point if you want.
- Equilibrium Curing - If you’re worried about wasting salt, there is another (more modern) method you can try. First, weigh the meat. Apply 3% of that weight’s worth of salt onto the meat, covering it evenly and thoroughly, then use a vacuum sealer to remove the air and let it sit in the refrigerator for about 5 days. This technique is called “equilibrium curing.”
2. Add Flavors
After the meat is somewhat dehydrated, the fun part begins: adding flavors! There are endless combinations of herbs and spices you can use to create your very own signature cured meats, such as prosciutto. Simply shake off the majority of the salt (it’s okay if some stay on the outside) and coat the meat in your spice mixture. Alternately, you may add the herbs and spices during the cure.
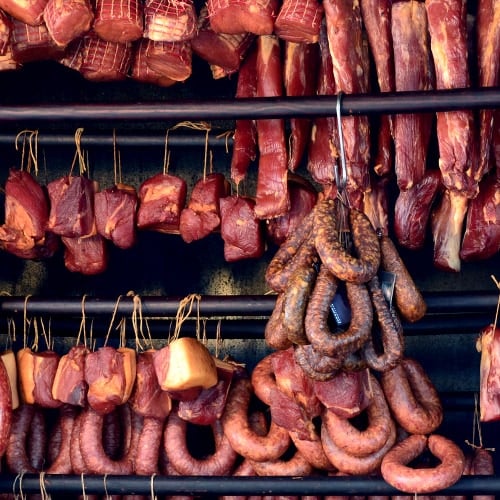
3. Hang to Dry
Once the spices have been applied, you can either wrap the meat in cheesecloth to keep the spices together or simply tie it with a series of butcher’s knots, using regular kitchen twine. The basic idea is to keep the meat in a tidy shape that’ll be easy to cut while ensuring that air can circulate the entire piece.
Once you have everything neatly tied, hang it in the fridge until it’s done. Between 40 and 33 degrees Fahrenheit is the proper temperature range for storing meat (without freezing it). Use a label maker to identify all your different meats—including the start weight and goal weight.
- Warning Signs - If you notice a foul odor at any point in the process, that means that the salt was not properly applied, and bacteria has begun to grow. There’s no real way to salvage meat after rot has begun, so if you find any indications of bacteria, it should be discarded right away.
How Long Does It Take to Salt Cure Meat?
The meat should lose 35-40% of its weight by the end of the process, and the only way to tell when the meat is finished curing is to weigh it. Follow this formula to find what the final weight should be: beginning weight X 0.65= final weight goal. The amount of time it takes for the meat to cure depends entirely on the size of the meat. A small duck breast should take about 4-5 weeks. Large cuts of pork could take several months.
After you’ve left ample time for curing and the process is complete, it’s time to enjoy your creation! Use a meat slicer to slice the meat into the thinnest pieces possible (they should be translucent). You can put the pieces on a sandwich or simply serve them on a board with fruits, cheeses, and specialty mustard or jam. The result should have a chewy texture and a perfect amount of salt and spice.
How to Cure Sausage
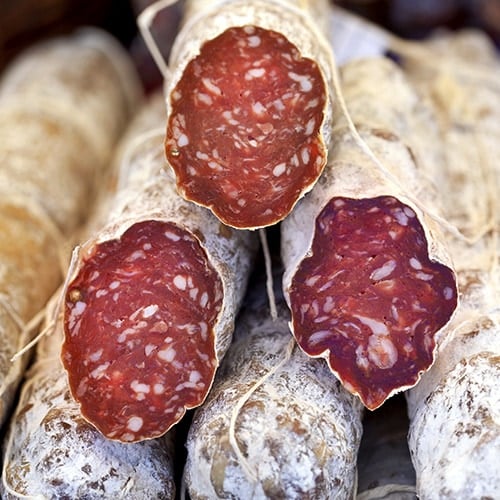
The main difference between cured sausage and other cured meats is that you combine the salt and seasonings with the meat in a meat grinder, rather than simply coating the outside of a complete cut. Salami is one of the most popular kinds of cured sausage, and it’s been around for centuries.
Making sausage isn’t difficult, but it can be time-consuming. So why not get the most out of your efforts by curing it? One thing to keep in mind, though, is that many kinds of cured sausage must be stored at room temperature for the process to be effective, and that can require extra permits or special storage spaces in a commercial setting. But if you can manage the legal aspects, house-cured salami is a wonderful addition to a cheese and fruit board.
Commercial Meat Curing Laws and Regulations
If you’re starting a butcher shop and plan on curing your meats, make sure you understand the laws and regulations of your municipality, as well as the Department of Health guidelines for your state. While meat and poultry regulations vary by country, state, and even city, some basic principles that apply throughout the nation include:
- Licenses - Most facilities that process meat, whether they're a slaughterhouse or delicatessen, need to obtain proper licenses through an application process.
- Inspections - Trained professionals will inspect meat processing facilities before production begins and will most likely check in periodically to ensure that everything meets their standards. There are different levels of inspectors: federal, state, and municipal.
- Facility - The layout of your facility is extremely important to plan out before you take on a meat curing endeavor because there are restrictions on the footpath permitted through the building, to reduce the risk of contamination. Access to potable water and proper drainage to sanitary sewage systems are essential.
- Separation of Products - Raw products must be kept separate from ready-to-eat items. Similarly, it is recommended that edible items be kept separate from inedible supplies, to better control the growth of bacteria in areas where food is kept.
While there are a lot of different methods for curing meat, the same basic ingredients are important to all of them: salt, temperature, and time. Depending on your location, you may be able to cure meat in your existing space, or you could consider meat curing chambers to keep meat contained during the curing process. No matter if you’re looking to create a signature charcuterie to set your business apart from other eateries or if you’re simply hoping to extend the shelf life of the sausage that you painstakingly prepared, curing is a useful meat flavoring and preserving process.