
- Topics 1577
- Industrial 59
- Troubleshooting Guides 32
- Restaurant Management 144
- Bar Management 71
- Catering Tips 46
- Bakery Management 44
- Food Trucks & Concessions 40
- Advertising & Marketing 41
- Eco-Friendly Tips 13
- Facility Layout & Design 47
- Coffee Shop Tips 32
- Installation & Maintenance 63
- Janitorial & Pest Control 34
- Safety & Sanitation 121
- Startup Tips 111
- Menu Design 11
- Kitchen & Cooking Tips 107
- Hospitality Management 26
- Pizza & Sandwich Shop Tips 21
- Smallwares 42
- Food Prep 103
- Tabletop Items 21
- Disposables 28
- Calculators & Tools 7
- Consumables 77
- Warewashing & Laundry 22
- Cooking Equipment 107
- Food Storage & Refrigeration 57
- Beverage Equipment 44
- Office Supplies 6
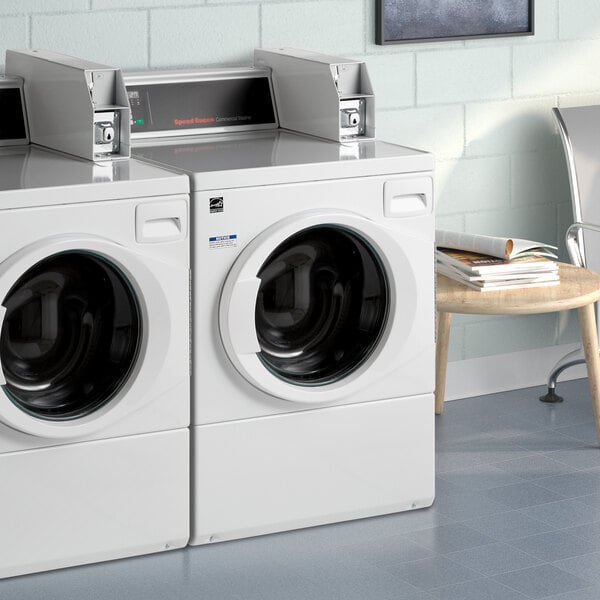
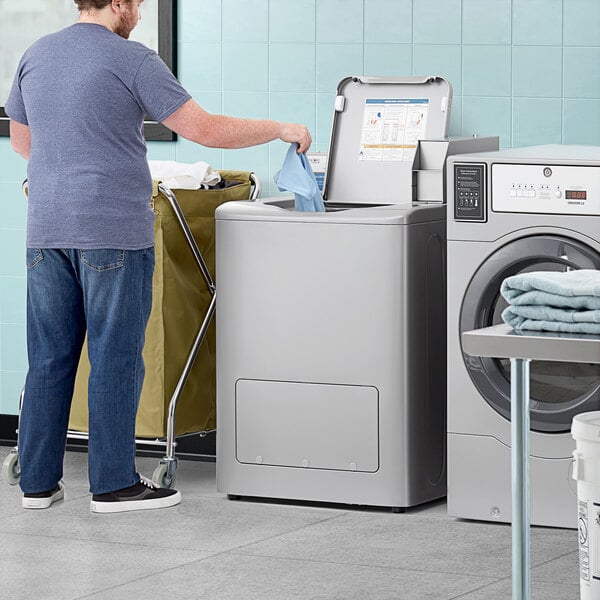
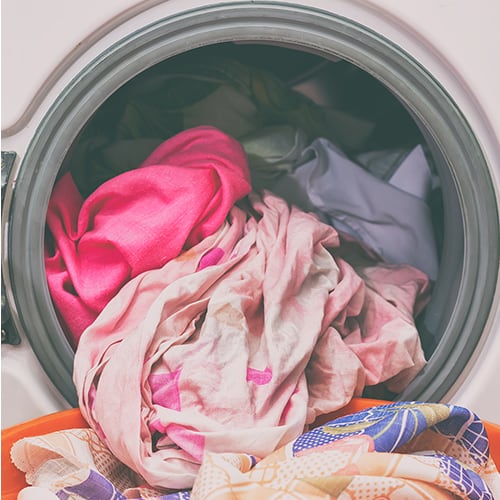
Even with correct installation, proper venting, and routine upkeep, high-volume laundry rooms in hotels, gyms, healthcare facilities, and foodservice operations can still run into faults when loads are constant and turnaround times are tight. Below, we cover some practical checks that can be performed safely by staff to help you avoid turning a minor laundry machine interruption into wasted laundry supplies, a damaged motor, or a flooded floor. Proper understanding of laundry machine troubleshooting allows you to reduce downtime, standardize how your team responds when a unit acts up mid-shift, and decide when a certified technician is the right next step.
Shop All Commercial Laundry Machines
Use the following links to learn more about how to troubleshoot your commercial laundry machine:
- Commercial Washer Won't Start, Spin, or Agitate
- Commercial Washer Won't Fill
- Commercial Washer Won't Drain
- Commercial Washer Leaks
- Commercial Washer Is Too Noisy
- Commercial Washer Has Wrong Water Temperature
- Commercial Washer Has Too Many Soap Suds
- Commercial Dryer Doesn't Start or Heat
- Clothes Take Too Long to Dry in Commercial Dryer
- Commercial Dryer Wrinkles or Shrinks Clothes
- Commercial Dryer Causes Grease or Lint on Clothes
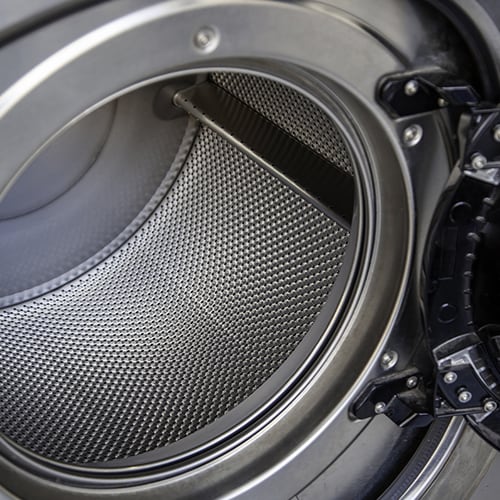
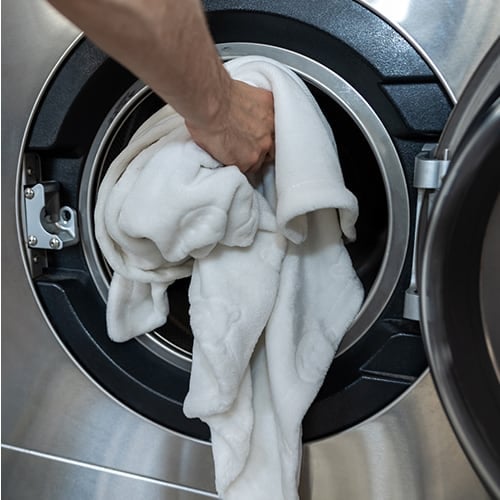
Commercial Washer Troubleshooting
Commercial washer troubleshooting helps operators pinpoint common cycle interruptions, often tied to power, water supply, loading, or basic drainage conditions. Start with quick, safe checks your team can complete on the floor before escalating to service.
When a commercial washer won't start, agitate, or spin, the problem is usually tied to a safety lockout or a power interruption that prevents the drive system from engaging. Because these functions are all part of the machine's core motion sequence, a single blockage can make the washer appear fully down even if the display is on. Start with operational checks that confirm the unit is allowed to run and has a valid cycle selection. If the washer has power and correct settings but the tub still won't move, the issue may be mechanical and should be escalated to service.
- Make Sure Lid Is Fully Closed: A lid switch or door lock that isn't engaged will keep the washer from starting to protect operators during operation.
- Press the Start/Pause Button: If the washer is sitting in a paused state, it may appear unresponsive until the start button is pressed again.
- Verify Controls Are Properly Set: Re-select the cycle, temperature, and any required options to ensure the unit is not waiting on a setting or locked in an incomplete selection.
- Confirm Power Cord Is Fully Plugged In: A loose connection can allow the display to flicker or power on without supplying stable power to start the motor and controls.
- Check Fuse or Breaker: Reset a tripped breaker or replace a blown fuse if appropriate, then retest the washer to confirm it starts and agitates consistently.
- Examine Drive Belt: If the motor runs but the tub does not move, the belt may be damaged.
When a commercial washer won't fill, the issue is often a simple interruption in power, water supply, or a control setting that prevents the inlet valves from opening. Because missed fills can stall an entire laundry schedule, start with quick visual checks that don't require tools and won't take the machine out of service longer than necessary. Confirm the unit is actually calling for water in the selected cycle, then work outward to the supply lines, screens, and drain setup. If the washer begins filling after these steps, run a short test cycle to verify consistent operation before putting it back into full production.
- Confirm Power Cord Is Fully Connected: A partially inserted plug can supply intermittent power, which may light the console but keep the washer from energizing the fill valves.
- Check Hot and Cold Water Shutoff Valves: Confirm both faucets are turned on all the way, as some units won't fill correctly if one supply is restricted.
- Close Lid: Many commercial top-loaders will not initiate a fill unless the safety switch detects a secure closure.
- Inspect Fill Hoses: Straighten the line path behind the machine so water can flow without restriction, especially after moving the unit for cleaning.
- Double-Check Control Settings: A changed cycle, temperature, or load option can delay filling or change when water is added.
- Clean Hose Filter Screens: Remove and rinse debris from the water mixing valve screens and the filters at the faucet end of the hoses.
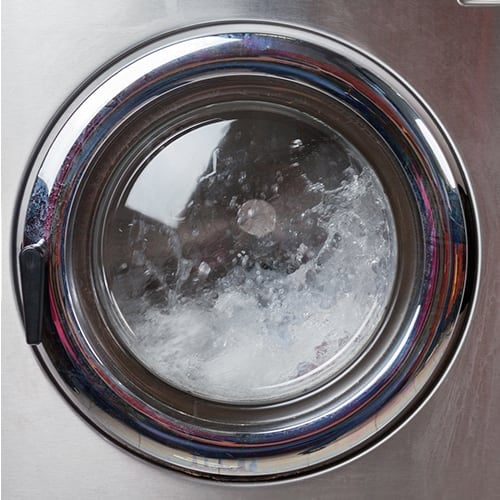
A commercial washer that won't drain can take a machine out of rotation fast, leaving loads sitting in standing water and delaying linen turnaround. In most facilities, the root cause is a restriction in the drain path or an installation issue that prevents proper flow to the standpipe or floor sink. Start by checking the most accessible points before assuming the washer itself has failed. If you restore drainage, run a quick rinse-and-drain test to confirm the line clears reliably under normal volume.
- Make Sure Drain Hose Is Not Kinked or Twisted: A pinched hose behind the unit can slow or stop discharge, especially if the washer was shifted for cleaning or service access.
- Confirm the Drain Hose Is Not Clogged: Inspect for lint buildup, debris, or a flattened section that restricts flow, and clear the obstruction if it can be done safely without disassembling the machine.
- Check the Drain Receptacle: A standpipe, floor drain, or laundry sink with lint or residue can back up and prevent the washer from emptying at the expected rate.
- Verify Drain Hose Is Installed Correctly: Improper placement of the drain hose can cause slow draining, backups, or recurring drainage failures.
Commercial washer water leaks should be addressed immediately, since even minor seepage can create slip hazards, damage surrounding finishes, and trigger downtime if the area must be closed for cleanup. Leaks often trace back to hose connections, aging supply lines, or drainage backups rather than an internal tank failure. Work methodically from the water source to the drain path, checking fittings and flow conditions that can force water where it shouldn't go. After any adjustment, run a short fill and drain test while monitoring the floor perimeter and hose connections.
- Check That the Fill Hoses Are Securely Installed: Confirm tight, properly seated connections on the faucets and the washer's water mixing valve to prevent drips during fill and rinse.
- Inspect the Condition of the Fill Hoses: Look for bulges, cracking, corrosion at fittings, or soft spots, and plan to replace fill hoses every five years to reduce burst and seep risk.
- Make Sure Drain Receptacle Is Not Clogged: A restricted floor drain or standpipe can cause overflow or backup that presents as a washer leak, especially during high-volume discharge.
- Evaluate Laundry Room Plumbing: Check nearby supply lines, valves, and drain connections so you're not attributing a building-side leak to the washer.
- Check Water Pressure: Extremely low water pressure can contribute to irregular filling and valve behavior that may lead to leaking or incomplete closure at connections.
- Avoid Overloading: Excess foam or a packed drum can push water and suds out of the tub area. Reduce detergent usage and keep loads within the machine's capacity.
If the unit becomes unusually loud, the issue is often tied to how the load is distributed and how stable the machine is during high-speed spin. Excess vibration can force the washer to slow down or limit spin speed, which leaves more water in the textiles and stretches cycle times for the dryer. In busy laundry rooms, small loads are a common culprit because they don't give the drum enough mass to balance properly.
- Redistribute an Unbalanced Load: Open the lid or door (when safe) and spread items evenly around the basket so the washer can reach full spin without shaking.
- Verify the Washer Is Level: Uneven leveling feet can amplify vibration and noise, especially on tile or sealed concrete, and may prevent stable high-speed spin.
- Account for Break-in Noise on New Installations: A newly installed washer may knock if the belt has settled during storage; running 4-5 complete cycles typically loosens the belt and reduces the sound without impacting performance.
Incorrect wash water temperature can show up as poor soil removal, lingering odors, or staff complaints that "hot" cycles feel lukewarm. In commercial settings, the cause is usually a control selection, swapped inlet connections, or a facility hot-water limitation rather than a washer failure. Start by confirming what the machine is actually programmed to request, then verify the supply lines are routed to the correct ports. If temperatures still seem off after these checks, the issue may be upstream at the water heater or building plumbing.
- Make Sure Controls Are Set: Recheck the selected cycle and temperature option to confirm the washer is being told to draw hot, warm, or cold water as intended.
- Inspect Fill Hose Connections: Confirm the hot faucet hose is connected to the hot inlet on the valve bracket and the cold faucet hose is connected to the cold inlet.
- Check Laundry Room Water Heater: If the heater is set too low or recovery can't keep up with demand, fills may come in cooler during peak laundry periods.
- Consider Normal Eco Cycle Behavior: Some models use a colder target temperature in Normal Eco mode to reduce energy use, which can be mistaken for a temperature fault.
Excess suds in a commercial washer can slow drainage, interfere with proper rinsing, and leave textiles feeling tacky or smelling like detergent. Oversudsing is usually caused by the wrong product type, too much laundry detergent for the soil level, or a load that's packed so tightly the washer can't dilute and rinse effectively. Because foam can trigger longer cycle times and repeat rinses, it also increases water use and reduces throughput in busy laundry rooms. Start by confirming the cycle and chemical setup, then adjust dosing and load size to bring suds back under control.
- Confirm Controls: Make sure the selected cycle matches the load type and soil level, and verify you're using a low-sudsing, high-efficiency (HE) detergent where required.
- Use Recommended Detergent Amount: If a non-HE detergent is being used, cut the dose to half the manufacturer's recommended amount to reduce foam in commercial high-agitation cycles.
- Avoid Overloading: Keep loads within the machine's capacity so water can circulate through the textiles and rinse away detergent instead of trapping suds in the drum.
Commercial Dryer Troubleshooting
Commercial dryer troubleshooting centers on airflow, heat delivery, and load setup. The operator-level checks below help you correct common slowdowns and quality issues without unnecessary downtime.
Commercial dryers that won't start or won't heat can shut down linen production quickly, especially when multiple loads are queued. Most complaints trace back to power supply issues, a door switch that isn't engaged, or restricted airflow that trips safety controls. Begin with the basic readiness checks, then move to electrical and ventilation checks, as both are common failure points in high-use laundry rooms. After correcting anything in the exhaust path, run a timed heat cycle and confirm steady airflow at the outside termination.
- Check Power Cord: A loose connection can keep the dryer from starting or can prevent the heating system from receiving consistent power.
- Confirm Door Is Closed: If the door switch isn't engaged, the dryer will not run and may appear dead even if the control panel lights up.
- Check Laundry Room Fuses: Look for blown or loose fuses and open breakers, since a partial power loss can allow the motor to run without heat.
- See If the Motor Overload Protector Has Tripped: Wait about 10 minutes for it to reset, then try again. Overheating from heavy use or poor airflow commonly triggers this safeguard.
- Inspect Exhaust Duct: A kinked, blocked, or lint-loaded duct can reduce airflow enough to shut down heat or trip protection devices.
- Check Exterior Weather Hood: Make sure the damper moves freely and isn't jammed, pushed inward, or blocked by lint, debris, or snow.
When clothes take too long to dry in a commercial dryer, the bottleneck is usually airflow or load management, not the timer itself. Slow drying reduces throughput, drives up utility costs, and creates a backlog of damp linens that can sour if they sit. Start by checking the exhaust path and lint control, since even minor restrictions can add significant minutes per load across a full shift. Then review sorting, load size, and control settings to make sure the dryer is being used within its designed capacity.
- Check for Obstructed Ducting: Kinked flex duct or crushed pipe restricts airflow and is one of the main causes of long dry times.
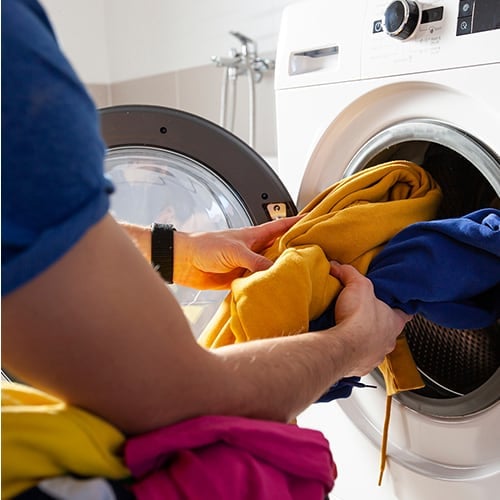
- Review Sorting Practices: Mixing quick-dry items with slower-dry pieces forces the whole load to run longer and increases the odds of overdrying some textiles.
- Account for Heavy Fabric Loads: Large batches of dense items such as beach towels, bath mats, or thick cotton hold more water and may need smaller loads or longer cycles by design.
- Verify Controls: Make sure the selected cycle, heat level, and dryness target match the fabric type so the dryer isn't running low heat on a high-moisture load.
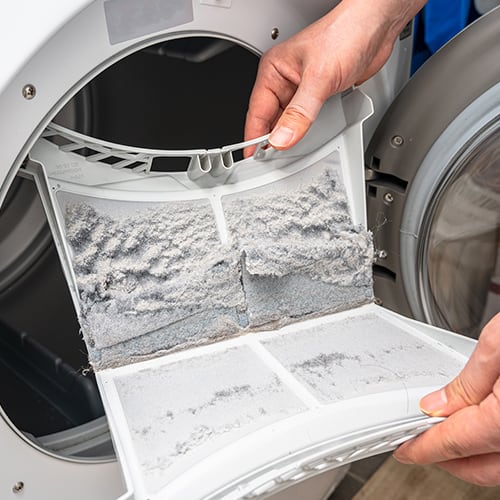
- Empty and Clean Lint Filter: A full lint screen chokes airflow, reduces evaporation, and can make the dryer feel cooler even when the heater is working.
- Avoid Overloading and Underloading: Packing the drum limits tumbling and air penetration through the textiles, which slows moisture removal and creates damp pockets. Conversely, very small loads may not tumble properly, reducing contact with moving air and causing uneven drying that prolongs the cycle.
Wrinkles and shrinkage usually come down to time, temperature, and what happens after the drum stops turning. Overdrying is the most common trigger, especially when loads are left for extended periods of time. Heat can also set creases when textiles sit compressed in a hot drum, and oversized loads don't tumble freely enough to release wrinkles as they dry. Use the steps below to tighten your drying process and protect fabric shape without slowing down throughput:
- Reduce Overdrying: Select a shorter drying time, choose a cooler setting, and pull items while they still retain a slight amount of moisture to minimize set-in creases and shrink risk.
- Remove Items as Soon as the Cycle Ends: Don't let loads sit in the dryer, unload immediately and fold or hang right away to prevent wrinkles from setting in.
- Avoid Overloading the Drum: Split large batches into smaller loads so items tumble and separate properly, which improves airflow and reduces wrinkling.
- Account for Fabric Shrink: Some materials naturally shrink in heat, even if they wash fine. Follow garment care labels precisely, press items back into shape when appropriate, and don't machine-dry items you're concerned may shrink.
Grease marks or lint on finished loads usually come from preventable handling and housekeeping issues rather than a failing dryer. This problem often spikes when lint control slips, mixed loads are rushed through, or products like softeners are overapplied. The result is rewash labor, wasted energy, and linens that don't meet presentation standards for patrons. Start with lint filtration and loading practices, then work through sorting, pocket checks, and laundry chemical use.
- Clean the Lint Filter: A full screen reduces airflow and can allow lint to recirculate and redeposit on fabrics, especially on textured items like towels.
- Improve Sorting: Keep lint-shedding loads separate from lint-attracting fabrics and smooth synthetics.
- Reduce Static Electricity: Low humidity and overdrying increase static, which pulls lint onto garments. Adjust dryness targets or heat level to reduce static buildup.
- Avoid Overloading: An overpacked drum limits tumbling and airflow, making lint stick instead of being carried to the filter.
- Check Pockets for Paper and Debris: Tissues, receipts, and paper scraps break down into fine debris that spreads across the entire load.
- Use Fabric Softener Correctly: Overapplication or poor dilution can leave oily residues. Follow label dosing and apply only as directed for your machine setup.
- Don't Dry Dirty Items with Clean Loads: Oils, kitchen residue, and industrial grime can transfer and redeposit when mixed with cleaner textiles.
- Confirm Items Are Fully Clean: Stains and residues that survive the wash can set under heat, making marks appear worse and harder to remove later.
Related Resources

July 2026 WebstaurantStore Coupon Code
Just like the summer temperatures, the deals at WebstaurantStore are heating up all month long! Cool off with a wave of amazing deals, stocking up on vital supplies and equipment needed to get your establishment through the summer rush. Take a look at our wide array of sale items below and don't forget to enter the code WAVES26 at checkout to enjoy up to 25% off your purchases! Looking to save even more? Check out the new Webstaurant Rewards® Visa Business Card ! Sign up for a new card today and start earning rewards on every WebstaurantStore purchase, and save on a WebstaurantPlus subscription. Use the code WAVES26 for the items below to score great deals on restaurant disposables! From food packaging for to-go orders to lemonade cups for

Housekeeping Checklist
We've created a housekeeper checklist to help your cleaning staff prepare rooms in a quick and efficient manner. Hotels, resorts, and vacation rentals rely on their housekeeping staff to ensure that rooms and rentals are spotless and well-stocked with amenities. In addition to an organized cleaning cart, providing a housekeeping checklist that outlines all housekeeping supplies and duties will help keep your staff on track. Whether you operate a small boutique hotel or have just started a vacation rental business , a proper housekeeping checklist helps improve staff efficiency and provides a cleaner experience for guests. Click below for a downloadable housekeeping checklist template you can give to your employees: Download our Housekeeper

How to Stock a Housekeeping Cart
Clean guest rooms are vital to the success of any hotel, resort, or vacation rental . With limited time to prepare each room for the next guest, your housekeeping staff needs to be organized and efficient. You can help your cleaning staff to perform the best job possible by beginning with a well-stocked housekeeping cart and the right housekeeping uniforms . Shop All Hotel Housekeeping Carts Benefits of an Organized Housekeeping Cart There is a limited timeframe between guest checkout times and new guest arrivals. If checkout is at 11am and check-in is at 4pm, this gives your housekeeping staff 5 hours to clean and stock your guest rooms. An organized, well-stocked housekeeping cart helps your staff make rapid progress while they clean room
Join Our Mailing List
Receive coupon codes and more right to your inbox.

