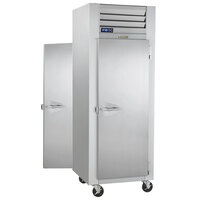
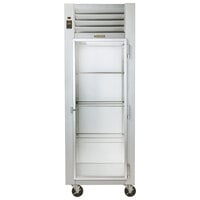
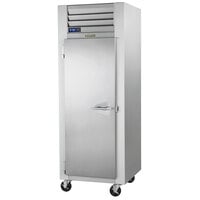
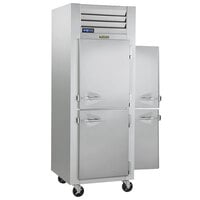
Universal Trayslides
How to install on G-Series 1-Section
Hi! Today i'll be showing you how to install our universal trayslides into a G-Series single section. Before installing the new trayslides, we must first remove the shelves.
After removing shelves and pins, go up and down the cabinet on the front and back panel using a flat head screwdriver - popping plugs out, revealing the screw holes for the pilasters.
After removing the plugs inside, it's time to install the pilasters. There's two different sets of pilasters: one set is for the front left and back right and one set is for the front right and back left.
To determine which pilaster you're looking at, take a look at the top cut-out of each pilaser. One has a very thin gap on top and one has a very tick gap on top. The thick gap should be on bottom.
After all the pilasters are installed, it's time to install the trayslides. In the universal kit, there should be 14 total- 7 for each side.
Once all the trayslides have been installed, double check to make sure your spacing ins correct.
Copy and paste the embed code above.
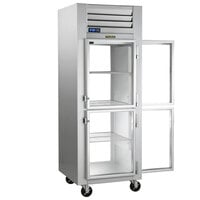
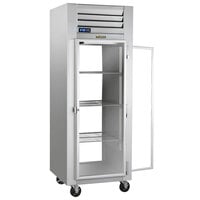
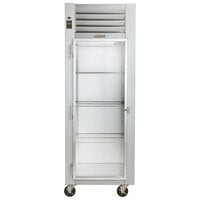
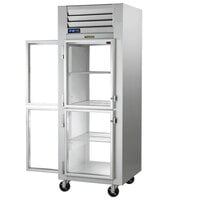
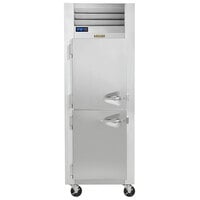
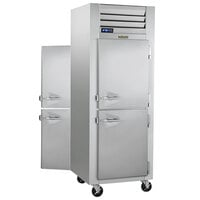
Watch this video to learn how to install universal Traulsen Trayslides on G Series 1-Section.