How to Spaceman Soft Serve Air Pump Pressurized Machine (SSA) Start Up, Cleaning, and Assembly Video
Video is loading
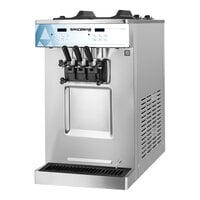
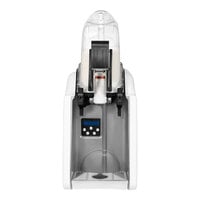
How to clean your Spaceman Soft Serve Machine, which includes removing, cleaning, and re-installing several internal components and gaskets.
Products Related To This Video


Related Videos

Check out this video to learn how to properly assemble the air pump for Spaceman soft serve machines!

Learn how Spaceman's beater technology can increase efficiency in your restaurant or ice cream parlor!

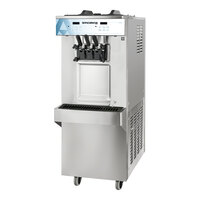
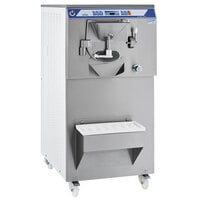
Effortlessly serve over (380) 4 oz. soft serve ice cream cones with a Spaceman 6235A unit! It features a fast initial freeze time and recovery time, helping to keep your business running smoothly and efficiently.