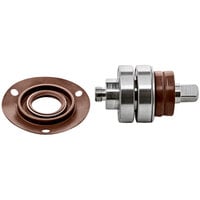
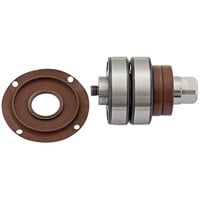
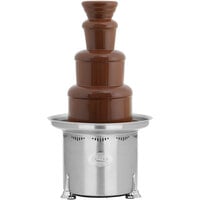
Sephra Seal and Bearing Replacement Video
Video is loading
Learn how to properly replace and care for the bearings and seals of your Sephra Chocolate Fountain.
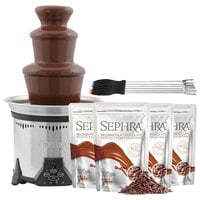
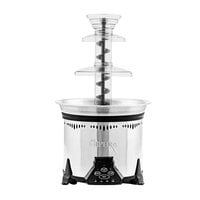
Products Related To This Video

Related Videos

Check out this video to learn what type of flatware is best for your restaurant or establishment! Learn how the weight and material of flatware can help you decide which flatware option is the most economical choice for you.

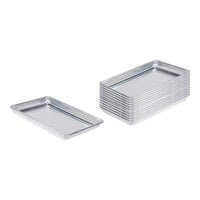
Choose from our wide variety of sheet pans! They come in many sizes and styles to meet your needs. Our perforated pans promote the flow of air for a crispier crust, while our solid pans result in doughier products like rolls and cookies.

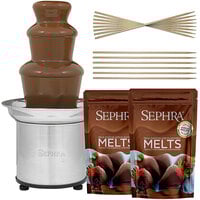
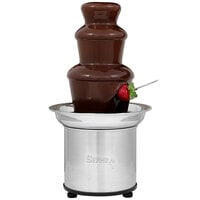
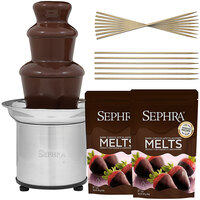
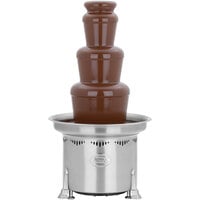
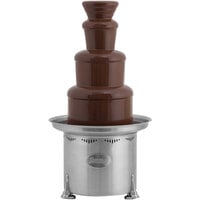
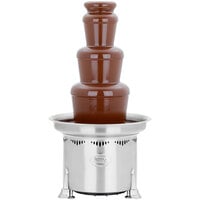
This video will help you understand the three models of Sephra's home chocolate fountain product line!