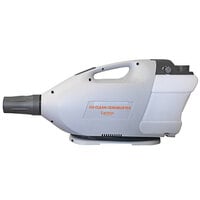
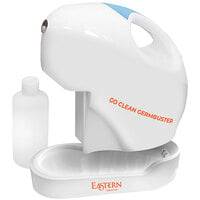
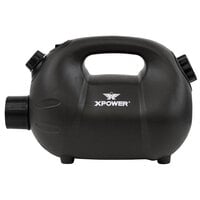
Go Clean Germbuster Cordless Compact Instructional video Video
Video is loading
Learn how to use your Go Clean Germbuster Mini by watching this short step-by-step video!
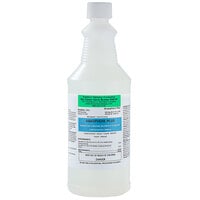
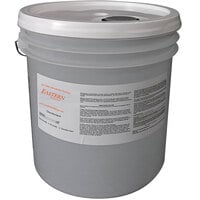
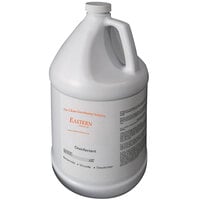
Products Related To This Video


Related Videos

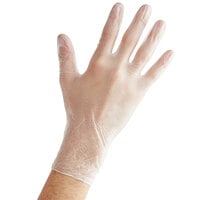
This video gives you an overview of what Noble Gloves offers. These versatile, food service-grade gloves can be used to protect hands in almost any situation and come in multiple sizes and styles so you can provide your employees with the perfect fit.

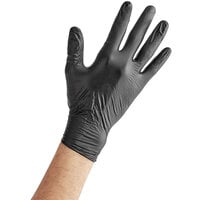
Training your staff on proper glove removal is critical in minimizing the risk of cross-contamination. Watch this video for step-by-step instructions to better maintain a safe and sanitary operation!

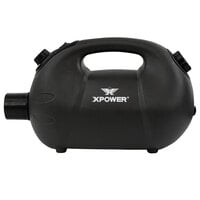
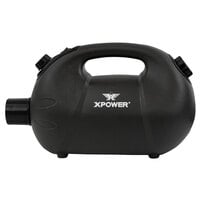
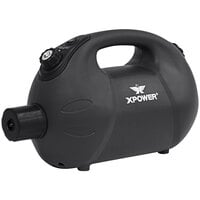
Learn how to use your Go Clean Germbuster ULV fogger and mister by watching this short step-by-step video!