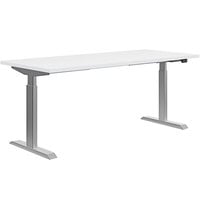
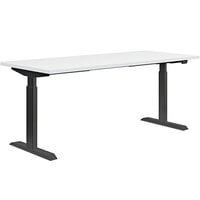
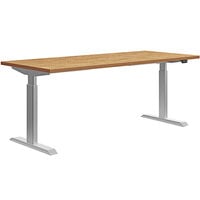
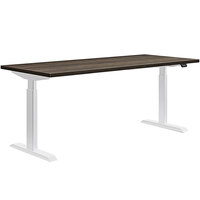
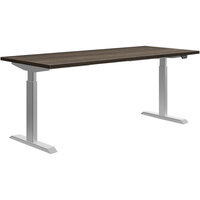
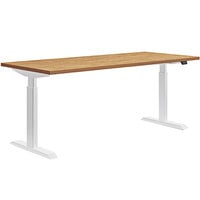
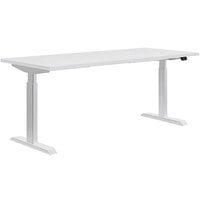
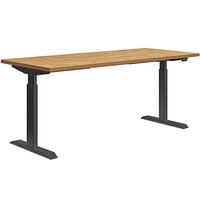
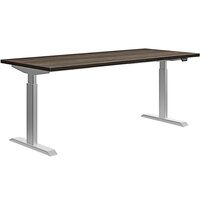
This is Jack, he is going to show you how to install your brand new Coordinate™ height-adjustable table. To assemble your table you will need a drill, 1/4" hex driver, tape measure, and safety glasses.
First, attach the adjustable column leg to the column bracket. Place the column into the bracket and loosely install 4 of the Allen head screws with the provided Allen wrench. Fully tighten all screws down to finish and repeat with the other leg.
Next, place your work surface upside down on cardboard or a carpeted surface to protect the top from scratches. If your work surface has pilot holes, line up the column bracket with the pilot holes on both sides of the work surface. If your work surface does not have pilot holes, use this guide to determine where to place the column brackets. Once positioned, attach the brackets with the hex screws provided (10 for each bracket). If your work surface is large enough to need a stiffener bar, attach it directly behind or in front of the column brackets. Insert 4 hex screws and drill stiffener into place. No pilot holes are provided for this step.
Before you attach the control box, make sure to plug it in first so you put it in the right place. First, connect the cord from one of the legs into the port marked M2 on the control box. Install the control box using 2 hex head screws, making sure to leave a little slack in the cord. Then, connect the cord from the opposite side of the control box into the cord from the other column leg. Place both feet upside down on the columns and then attach with the Allen head screws and wrench.
To install the keypad, place it at the front edge of the work surface in your desired location. Plug the cable into port HS of the control box. Use a drill with a Phillips bit and the two head set screws to attach. Plug in your power cord and then you can start organizing your cables.
We provided you with cable clips that can be screwed into the work surface to keep your cords from hanging under the table when in use. Simply insert the screw through the hole in the clip and then tie in the cord.
You're almost done! Grab a friend to help you flip the table over and then once you've plugged it in, you can initialize the control. Hold the down button until the control displays "RST". Hold the down button again until the table lowers and raises slightly.
That's it! Now you can set up your space and get to work. Thanks for watching.
Copy and paste the embed code above.
Get your Coordinate™ height-adjustable table set up in no time with these easy-to-follow instructions.