How to Cool Foods Properly
Last updated on Jan 14, 2026Janine JonesWhile most people are aware of the food safety concerns related to improper cooking or preparation methods, the importance of cooling food the right way often goes overlooked. Improper cooling of potentially hazardous foods is one of the leading causes of foodborne illness in commercial foodservice operations and can lead to the rapid multiplication of bacteria. For that reason, you and your staff need to be well-trained and informed on the correct procedures for cooling food to ensure the safety of your guests and comply with health regulations.
The Two Stages of Cooling Food
According to FDA regulations and CDC's food cooling guidelines, food should be cooled in two stages to keep it safe for consumption. The two-stage process that you should use in your kitchen is as follows:
- Food must be cooled from 135 to 70 degrees Fahrenheit (57 degrees Celsius to 21 degrees Celsius) within 2 hours.
- Food must then be cooled from 70 to 41 degrees Fahrenheit (21 degrees Celsius to 5 degrees Celsius) within 4 hours.
If cooling foods don't reach 70 degrees Fahrenheit within the first two hours, they must immediately be reheated to 165 degrees Fahrenheit for 15 seconds. Once this is done, the cooling process can start again until the food reaches 40 degrees Fahrenheit. If a staff member fails to monitor food or the cooling process isn't followed, dispose of the dish.
Food Cooling Methods
There are several different food cooling methods, and no method is better than the rest. Each one is helpful for a different type of food, depending on factors such as volume, density, and moisture content. Understanding the various food cooling methods can help you choose the most appropriate one for your specific needs, and we've listed the most common ones below.
1. Ice Cubes
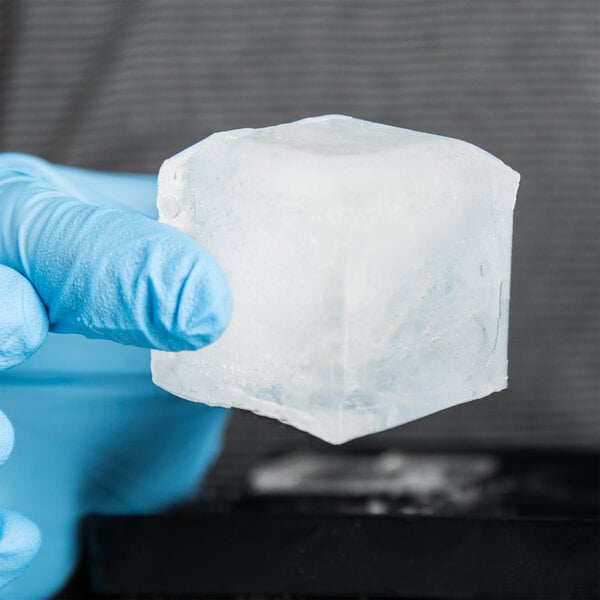
Using ice cubes as a cooling method is particularly effective for soups and gravies. This approach works well for water-based dishes that can easily be thickened during reheating. When using the ice cube method, keep the following tips in mind to ensure optimal results:
- Separate: Consider separating the dish into shallow pans to accelerate the cooling process. Doing this increases the surface area exposed to the cold, promoting quicker cooling.
- Stir: This helps distribute the cold temperature evenly throughout the dish and prevents potential hot spots that may compromise quality.
- Monitor: Monitor food temperature throughout the cooling process to ensure prompt results.
2. Ice Baths
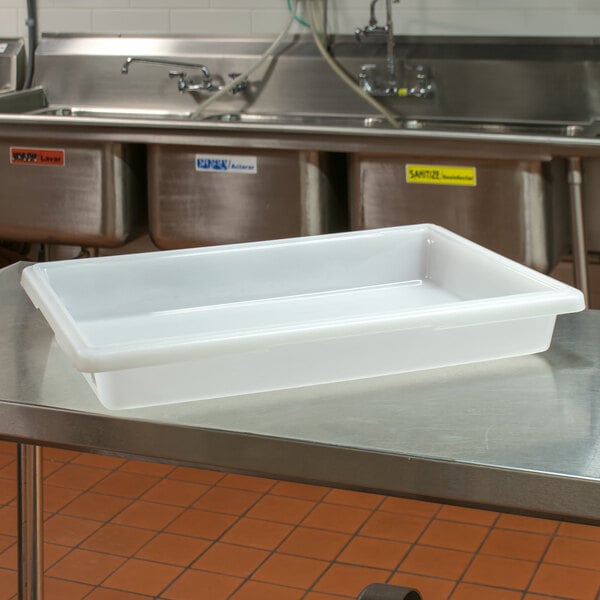
Ice baths offer a controlled environment. They allow you to cool food from the outside in, efficiently lowering the temperature throughout the entire dish. This method is especially useful for foods that would be diluted or watered down by ice cubes. To use the ice bath method of cooling, follow these steps:
- Fill a sink basin or food storage box with ice and a small amount of water.
- Place hot food into the ice until it is below ice level but not fully submerged.
- Shift the pan every few minutes, adding more ice if needed.
- Monitor food temperature to ensure it drops according to the 2-step cooling process requirements.
3. Ice Paddles
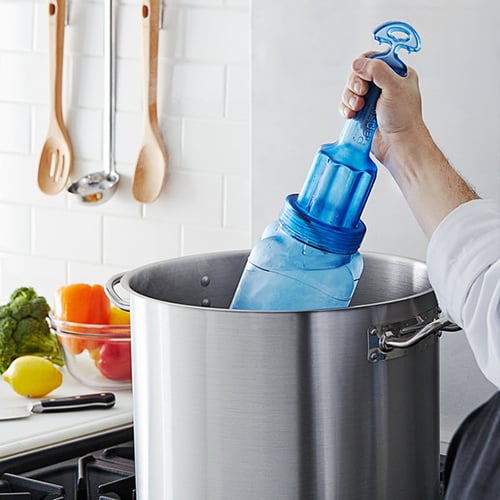
Ice paddles work effectively without diluting the flavor or consistency of your dishes. Made from food-grade plastics such as polycarbonate, ice paddles are safe for contact with food products and will not react with hot dishes. In most cases, ice paddles are more efficient than using an ice bath, making them ideal for busy kitchen environments where time is of the essence. They are versatile and work well with many foods, including soups, sauces, vegetables, rice, and beans. Follow the instructions below to use your ice paddle the right way:
- Fill a cooling paddle with water and freeze overnight. If you need to use it the same day, fill the paddle with ice and cold water.
- Place the paddle into your hot food and stir every 3-5 minutes to get the food to 70 degrees Fahrenheit within 2 hours. Use a probe thermometer to monitor the temperature of the food.
- Place the food into the refrigerator with the paddle still submerged and check the temperature every 20 minutes as it descends to 41 degrees over the next 4 hours.
- Remove the paddle when the food reaches a safe cooling temperature.
4. Blast Chillers
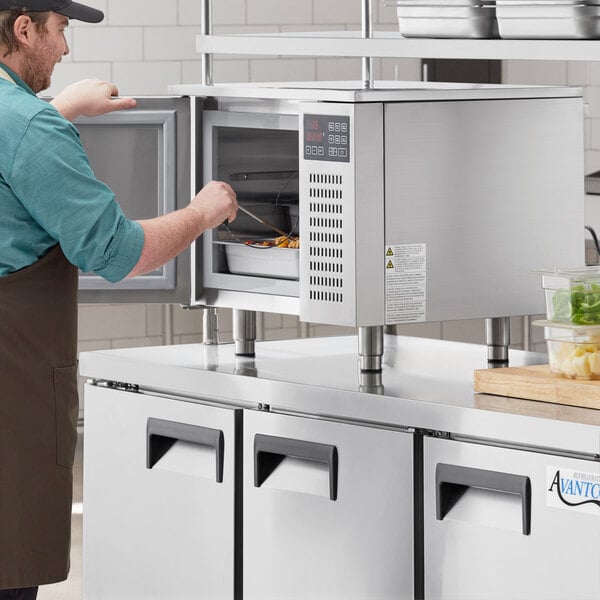
If you have room for one, a commercial blast chiller can be a quick, effective tool for cooling food and getting it out of the danger zone. A blast chiller or flash freezer blows forced cold air over the food, bringing the temperature down rapidly while minimizing the ice crystals that can form during the cooling process. This cools the food safely, extends its shelf life, and ensures a great-tasting product when reheated. To use a blast chiller the right way, follow these steps:
- Divide the food into shallow pans (approximately 4 inches deep) to allow it to cool evenly and quickly. Check the manual of your blast chiller to see which pans are compatible with your unit.
- Follow the instructions to start your unit. The chamber temperature will gradually drop while blowing air to cool the food safely.
- Once the food is at a safe temperature, place it in cold storage.
How Not to Cool Food
While it is important to understand which methods are best for cooling food, it is equally important to understand which methods you should avoid and why. Some methods may seem convenient, but in practice will jeopardize the safety and quality of your food. Avoid using these common practices to ensure the best cooling results:
Avoiding the Danger Zone While Cooling Food
Bacteria and microorganisms multiply rapidly between the temperatures of 135 and 41 degrees Fahrenheit, thriving between 125 and 70 degrees Fahrenheit. This temperature range is known as the danger zone, and it is the cause of most foodborne illnesses. Because of the danger zone, food must be chilled correctly and monitored through the two-stage cooling process. Foods that are moist and protein-rich, such as meats, cooked rice, cooked beans, cooked pasta, gravy, soups, stews, and sauces, are prone to accelerated bacteria growth.
Training Staff on the Food Cooling Process

Implementing food cooling and monitoring procedures into your staff training process is crucial to ensure that every team member is well-versed in the proper food cooling techniques. When training your staff, make sure they are well informed about the following aspects:
- Calibrating a thermometer: Train your staff to calibrate a thermometer to ensure accurate temperature readings.
- When to check food temperatures: Emphasize the importance of checking temperatures at regular intervals during the cooling process to monitor progress and ensure food is cooling within the specified time frame.
- How to check food temperatures: Train your staff on the correct method of checking temperatures using a calibrated thermometer to ensure accuracy and consistency.
- How to log temperatures: Staff should be familiar with the procedure for logging temperature readings accurately and promptly to maintain accurate records.
- Familiarity with the 2-stage cooling method: Educate your staff on the 2-stage cooling method and its importance.
- How to adjust the cooling process: Ensure your staff understands how to adjust the cooling process if food is not cooling within the specified time frame.
- How to store cooled foods: Make sure your staff knows how to store food once it is cooled. Ready-to-eat foods should be stored on the top shelf of your refrigerator and kept sealed in airtight containers to prevent cross-contamination.
How to Log Food Temperatures
Monitoring and recording food temperatures is imperative for upholding food safety standards, and your kitchen should have a designated food cooling log to ensure all correct safety procedures are followed. These recording procedures are also a key part of implementing a HACCP plan. Be sure to include the following information to make sure your records are accurate and up-to-date. Once the cooling is complete, have a manager sign off on it.
- Name of the staff member recording
- Date recorded
- Food cooled
- Starting time and temperature
- Cooling method used
- When the food reaches 135 degrees Fahrenheit
- Temperature of the food each hour for the next 6 hours
Food Cooling Questions
Now that you are familiar with the correct food cooling practices, let’s put your knowledge to the test. Answer the questions below to see if you're ready to cool food safely:
Back to TopKnowing how to cool food properly is essential to maintain food safety in your kitchen. By following the correct procedures, you can reduce the risk that harmful bacteria will grow and help eliminate the potential for foodborne illnesses. No matter how experienced you are in the foodservice industry, educating yourself on proper food cooling techniques is an easy way to keep your customers safe.
