Silicone is a popular material for cookware and is considered safe for use with food products according to the FDA, but it is still giving many chefs pause. There is skepticism around using silicone cookware in the kitchen due to concerns about toxins leaching into food. Silicone is a relatively new product in the foodservice industry compared to more well-known options like glassware or stainless steel, so studies on the impact and deterioration of the material are still being conducted. We explore silicone safety in foodservice applications and provide information on how to properly care and clean for silicone baking mats and molds.
What Is Silicone?
Silicone is a synthetic polymer that contains bonded silicon, oxygen, and other elements like carbon and hydrogen. Silicone is generally formed into a flexible, rubberlike plastic, which has several useful applications in any commercial kitchen.
Is Silicone Safe for Food?
Food-grade silicone is considered safe for baking and cooking below the temperature of 428 degrees Fahrenheit. When used at appropriate temperatures and in ways listed by the manufacturer, silicone remains inert and is not expected to leach into food. At temperatures exceeding 428 degrees Fahrenheit, the silicone can begin to melt and taint the food. Recent studies suggest that under prolonged stress (over 72 hours in an alcohol solution), silicone may leach particulates into food or liquids.
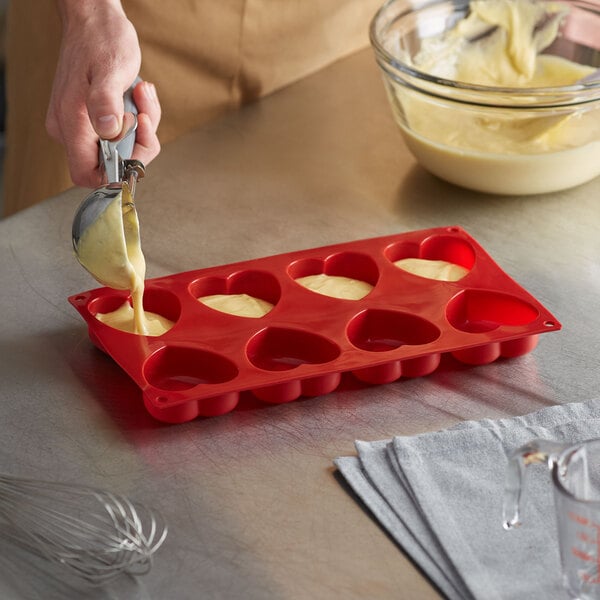
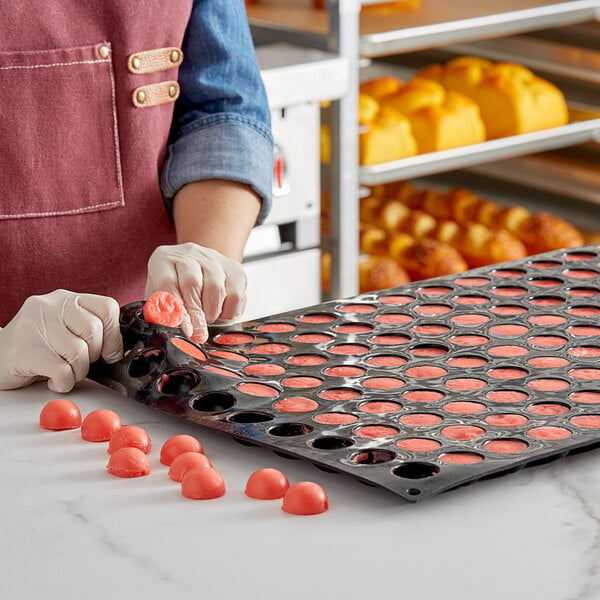
If you are nervous about using silicone when cooking or baking, you can avoid cookware like baking pans that require prolonged exposure at high-heat temperatures. Focus instead on using silicone kitchen tools like spatulas and spoons that have minimal food contact over time. It is important to note that using a candy mold is not expected to expose the silicone to enough stress to release toxins.
The true concern is with silicone products that feature a filler within the outer silicone layer. If the outer layer is scratched or damaged, this filler can end up leaching into the food, giving off an odor and altering the flavor of your dish. When purchasing silicone bakeware, look for high-quality and filler-free products that are made from 100% silicone.
Is Silicone Safer than Plastic?
Silicone is considered safer than plastic because it does not contain harmful BPA and won’t break down into micro-plastics. Silicone is also non-stick while being PFAS-free. While it requires specialized recycling, silicone can be down-cycled into lubricants for machinery.
Benefits of Silicone
Silicone is a versatile material that offers a range of benefits for commercial applications.
- Flexible Material: Silicone is a highly flexible material that can be easily molded into various shapes and sizes. Unlike rigid materials, silicone can bend and stretch without losing its shape or integrity.
- Easy to Clean: Silicone is non-porous, which means it doesn't absorb odors or flavors and is easy to clean. It can be washed by hand or in the dishwasher, making it a convenient option for busy commercial kitchens.
- Wide Temperature Range: Silicone can withstand a wide range of temperatures, from freezing to high heat, without losing its shape or properties. This makes it suitable for use in both cold storage and high-temperature cooking applications.
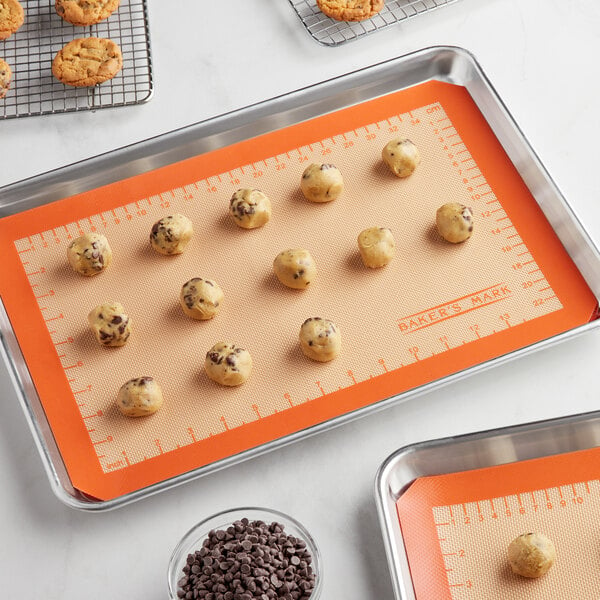
- Non-stick Properties: Silicone has natural non-stick properties, which make it ideal for baking and cooking applications. Foods are less likely to stick to silicone surfaces, reducing the need for additional oils or fats and making cleanup easier.
Can You Microwave Silicone?
Most silicone molds are microwave-safe, freezer-safe, and oven-safe. When placed in the microwave, silicone is not exposed to heat above 428 degrees Fahrenheit, and it is only in that space for a short period. That means it should not leach into your food product during this process. Be sure to check the manufacturer’s instructions for your silicone cookware to use the product as intended.
How to Clean Silicone
Silicone cookware is often dishwasher-safe and can be cleaned alongside your other pots and pans. If you are hesitant to subject your silicone to the high heat of the dishwasher’s drying cycle, you can follow these simple steps for cleaning silicone by hand:
- Put grease-cutting soap on a cloth (avoid abrasive cleaning tools) and run the water until it is hot.
- Once the water is very hot, wipe down silicone mats, molds, or pans with a soapy cloth.
- Rinse thoroughly.
- Leave silicone cookware out to air dry.
- If cleaning a silicone baking mat, lay the mat out flat to dry.
If your silicone still has a few bits and pieces of food stuck to it, place it back in the oven at 350 degrees Fahrenheit for 5 to 10 minutes. Once heated, soak the silicone in hot water to loosen the food. Repeat the steps above to achieve a thorough cleaning.
From baking cookies to molding melted chocolate, silicone can be an excellent addition to your kitchen to improve efficiency and expand your decorative capabilities. It is important to note that silicone is relatively new on the foodservice scene and is still being studied in its entirety. By sourcing high-quality silicone products and using them as intended, you can safely and easily add them to your kitchen inventory.