Non-stick pans are designed to prevent food and other materials from adhering to a cooking surface. They facilitate easy kitchen cleanup and make the cooking process more convenient, saving your staff valuable time in the kitchen. To keep your non-stick cookware in good shape, it’s important to stay up to date on proper cleaning and maintenance techniques. Below, we’ll investigate the best ways to clean your non-stick pans.
How to Clean a Non Stick Pan Video
Watch the video below to learn how to properly clean a non stick pan.
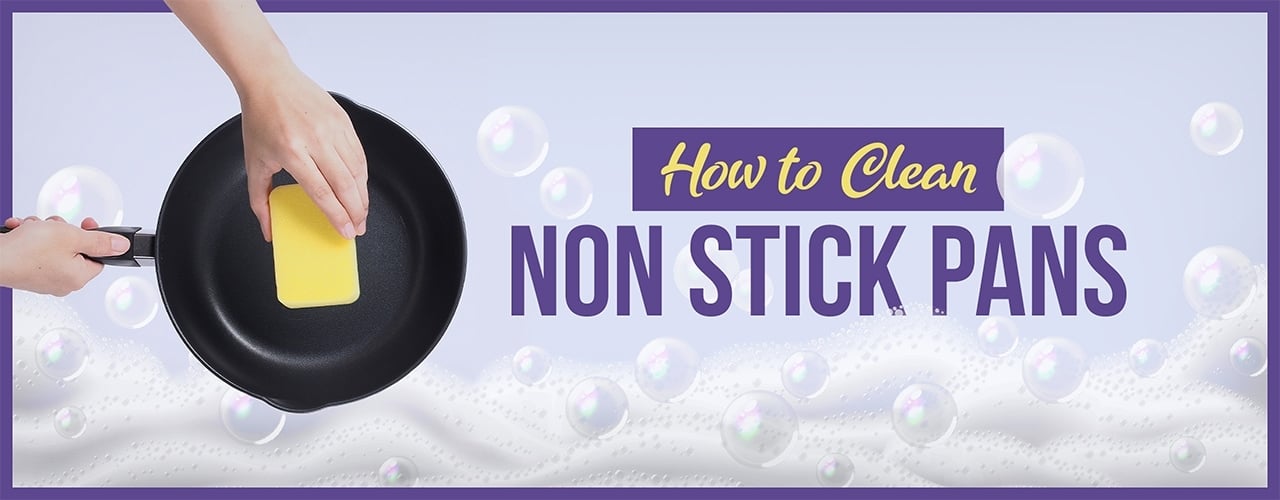
How to Clean a Non Stick Pan
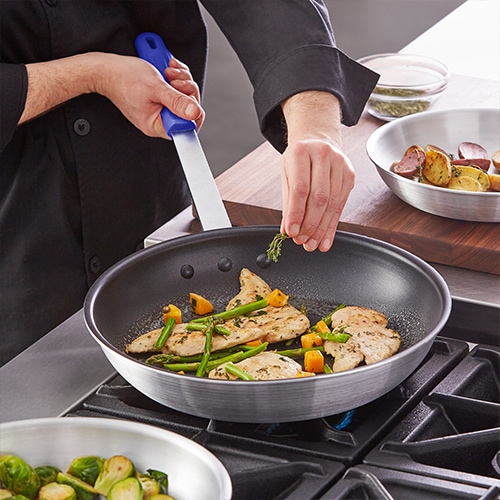
Cleaning your non-stick pans the right way facilitates a safe working environment while extending your cookware's quality and lifespan. Not only does it help to prevent cross-contamination, but in the long run it can save you significant money on equipment. To clean nonstick pans, follow these steps:
- Cool down: Before you begin cleaning, allow the pan to cool completely. Rinsing the pan while it is still warm or hot can warp it and cause damage.
- Rinse: Using soap and warm water, rinse the pan to remove leftover food particles.
- Scrub: Using a sponge or washcloth, scrub the surface of the pan to remove any remaining food particles.
- Rinse again: Once the pan has been scrubbed, rinse it again.
- Dry: Using a clean towel, dry the surface of the pan.
How to Clean a Burnt Non Stick Pan
There are two different methods for cleaning burn marks off of non-stick pans. One simply requires soap and water, while the other requires vinegar and baking soda. Below, we’ve included instructions for each method:
How to Clean Non Stick Pans with Soap and Water
- Rinse: Use soap and warm water to remove leftover food from the surface.
- Scrub: Using hot water and a non-abrasive sponge or cloth, scrub the surface of the pan to remove burnt food remains.
- Rinse again: After scrubbing, rinse the pan to remove any leftover soap or food particles.
- Dry: Once it’s been cleaned, allow the pan to dry.
How to Clean Non Stick Pans with Vinegar and Baking Soda
- Mix solution: Mix of two tablespoons white vinegar, baking soda, and a small amount of water in the pan.
- Heat: Place the pan on your stove and apply heat.
- Boil: Let the mixture boil for up to 5 minutes, stirring occasionally.
- Cool down: After five minutes, remove the pan from heat and allow it to cool.
- Rinse: Rinse the pan with warm water and wash it out using a sponge and dish soap.
- Dry: Allow the pan to dry.
How to Clean Sticky Residue off Non Stick Pans
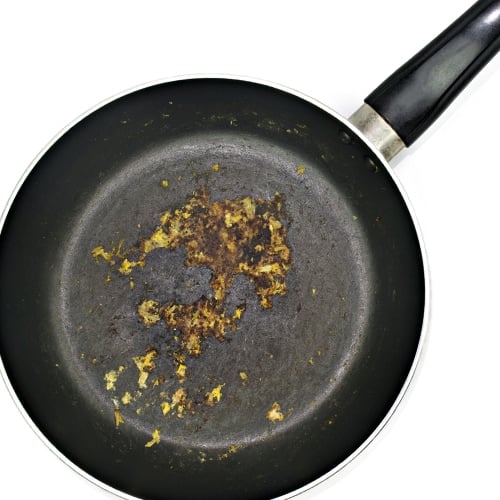
Over time, many non-stick pans tend to develop a sticky coating. In most cases, this coating forms due to repeated use of cooking sprays or cooking oils. To remove this coating and restore your pans to their previous condition, follow these steps:
- Add vinegar and water: Begin by adding a mixture of vinegar and water to the pan. For the best results, it’s recommended that you use one part vinegar to two parts water.
- Simmer: Once the mixture is added, put your pan on the stove and bring it to a simmer.
- Cool down: Once the residue appears to be gone, remove the pan from heat and allow it to cool down.
- Wash: Pour out the mixture of water and vinegar and wash the pan using soap and warm water.
- Rinse: Rinse with warm water to remove any excess residue.
- Dry: Place the pan on a drying rack or towel to dry.
Non Stick Pan FAQ
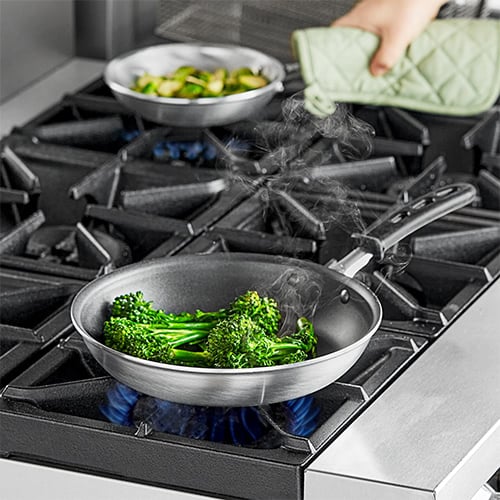
Keeping track of the key details about non-stick pans can be difficult, especially when there are so many different types of equipment in a kitchen. Whether you're new to foodservice or have been in the industry for years, it's essential that you stay informed on key details. To help, we've answered some of the most commonly asked questions about non-stick pans:
How Do Non Stick Pans Work?
Non-stick pans consist of a metal base coated in Teflon®. Also known as polytetrafluoroethylene (PFTE), a Teflon® coating provides pans with a nonstick, frictionless surface. For the best results, some manufacturers suggest adding a light coating of vegetable oil to your non-stick pan before cooking.
What Is the Best Material for Non Stick Pans?
In general, there are three base materials for non-stick pans. Each has its own set of advantages and disadvantages. These materials are:
- Aluminum: These pans come in several different varieties and are the most affordable option. They excel at conducting heat, but can easily be warped and are easier to damage.
- Hard-anodized aluminum: These non-stick pans are more durable than their counterparts, easily resisting scratches and other damage. However, they come with a higher price tag and are typically heavier than other pans.
- Stainless steel: Stainless steel pans heat up quickly and are highly versatile. However, they are also more expensive and require regular maintenance to stay in good shape.
What to Avoid in Non Stick Pans
As you use or clean your non-stick pans, there are several things you should avoid. To keep your pans in good shape, avoid the following:
Are Non Stick Pans Safe When Scratched?
If your non-stick pan was made after 2013, then it is likely safe to use if scratched. However, if it was made before 2013, it may not be safe to use if scratched. Before 2013, the Teflon® used to coat non-stick pans contained a substance called Perfluorooctanoic acid (PFOA), a carboxylic acid that can cause harmful side effects. Thankfully, non-stick products no longer contain PFOA, meaning that pans made in recent years are safe to use when scratched.
How Often to Replace Non Stick Pans
In general, it’s best to replace your non-stick pans every five years. Over time, most pans will start to warp or become discolored. In some cases, the coating can scratch or peel. The more this coating is damaged, the less effective your stainless steel cookware will be. For that reason, it’s ideal to replace them with new pans over time.
Back to TopProperly cleaning your non-stick pans is essential to extending their lifespan. By adhering to the information above, you’ll be able to keep your equipment in good condition, reduce replacement costs, and maintain a successful kitchen space.
