Food ServiceResources
How to Clean, Strip, & Finish Floors
Tips for Effective Floor Cleaning and Maintenance
Sweeping and dusting is a highly effective way to keep your floors free of dirt and grime, but consider adding these additional steps to your routine for even more effective cleaning!
- Take care of spills and messes immediately. If left untreated, they can become a safety hazard and will be much harder to clean later.
- Place floor mats in high-traffic areas, especially spaces that see increased exposure to outdoor elements. These offer great protection to preserve your floor surfaces.
- Diluting acetone-based fingernail polish remover can be very effective for removing difficult stains on tile or laminate flooring.
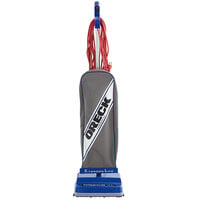
- Using a vacuum cleaner for larger messes can be a huge time saver. With so many different options it's important that you choose the best commercial vacuum cleaner for your specific establishment.
Floor Maintenance
How to Clean Hardwood Floors
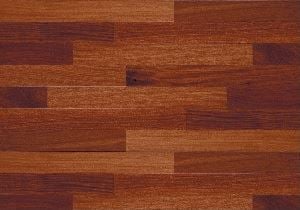
- Opt for a brush with soft bristles
- Vacuum on a low or gentle setting
- Use a microfiber dry mop head to pick up dust and dirt without risk of damage
- Avoid using a damp or soaking mop, as excess water will damage the surface
- Abrasive bristles on brushes or scrubbing tools will scratch and scuff the floor
- Harsh bristles on the "beater bar" of vacuums can scratch and ruin floors
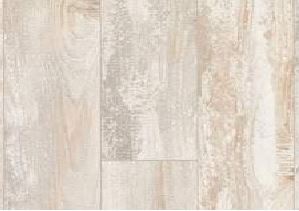
How to Clean Laminate Floors
- Opt for a brush with soft bristles
- Vacuum on a low or gentle setting
- Abrasive bristles on brushes or scrubbing tools will scratch and scuff the floor
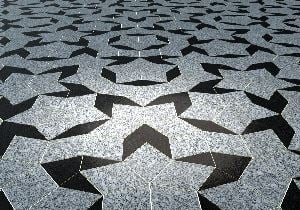
How to Clean Marble Floors
- Opt for a brush with soft bristles
- Vacuum on a low or gentle setting
- Use a microfiber dry mop head to pick up dust and dirt without risk of damage
- Avoid using a damp or soaking mop, as excess water will damage the surface
- Abrasive bristles on brushes or scrubbing tools will scratch and scuff the floor
- Harsh bristles on the "beater bar" of vacuums can scratch and ruin floors
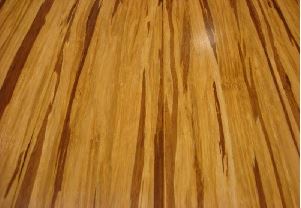
How to Clean Bamboo Floors
- Opt for a brush with soft bristles
- Vacuum on a low or gentle setting
- Use a microfiber dry mop head to pick up dust and dirt without risk of damage
- Avoid using a damp or soaking mop, as excess water will damage the surface
- Abrasive bristles on brushes or scrubbing tools will scratch and scuff the floor
- Harsh bristles on the "beater bar" of vacuums can scratch and ruin floors
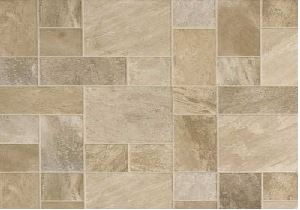
How to Clean Tile Floors
- Opt for a brush with soft bristles
- Vacuum on a low or gentle setting
- Abrasive bristles on brushes or scrubbing tools will scratch and scuff the floor
- Harsh bristles on the "beater bar" of vacuums can scratch and ruin floors
How to Clean Vinyl Floors
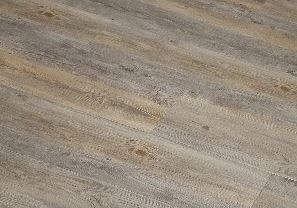
- Opt for a brush with soft bristles
- Vacuum on a low or gentle setting
- Abrasive bristles on brushes or scrubbing tools will scratch and scuff the floor
- Harsh bristles on the "beater bar" of vacuums can scratch and ruin floors
How to Clean Linoleum Floors
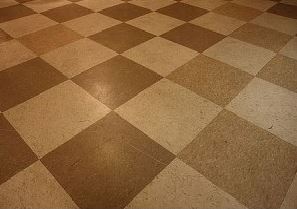
- Opt for a brush with soft bristles
- Vacuum on a low or gentle setting
- Abrasive bristles on brushes or scrubbing tools will scratch and scuff the floor
- Harsh bristles on the "beater bar" of vacuums can scratch and ruin floors
Floor Cleaning Chemicals
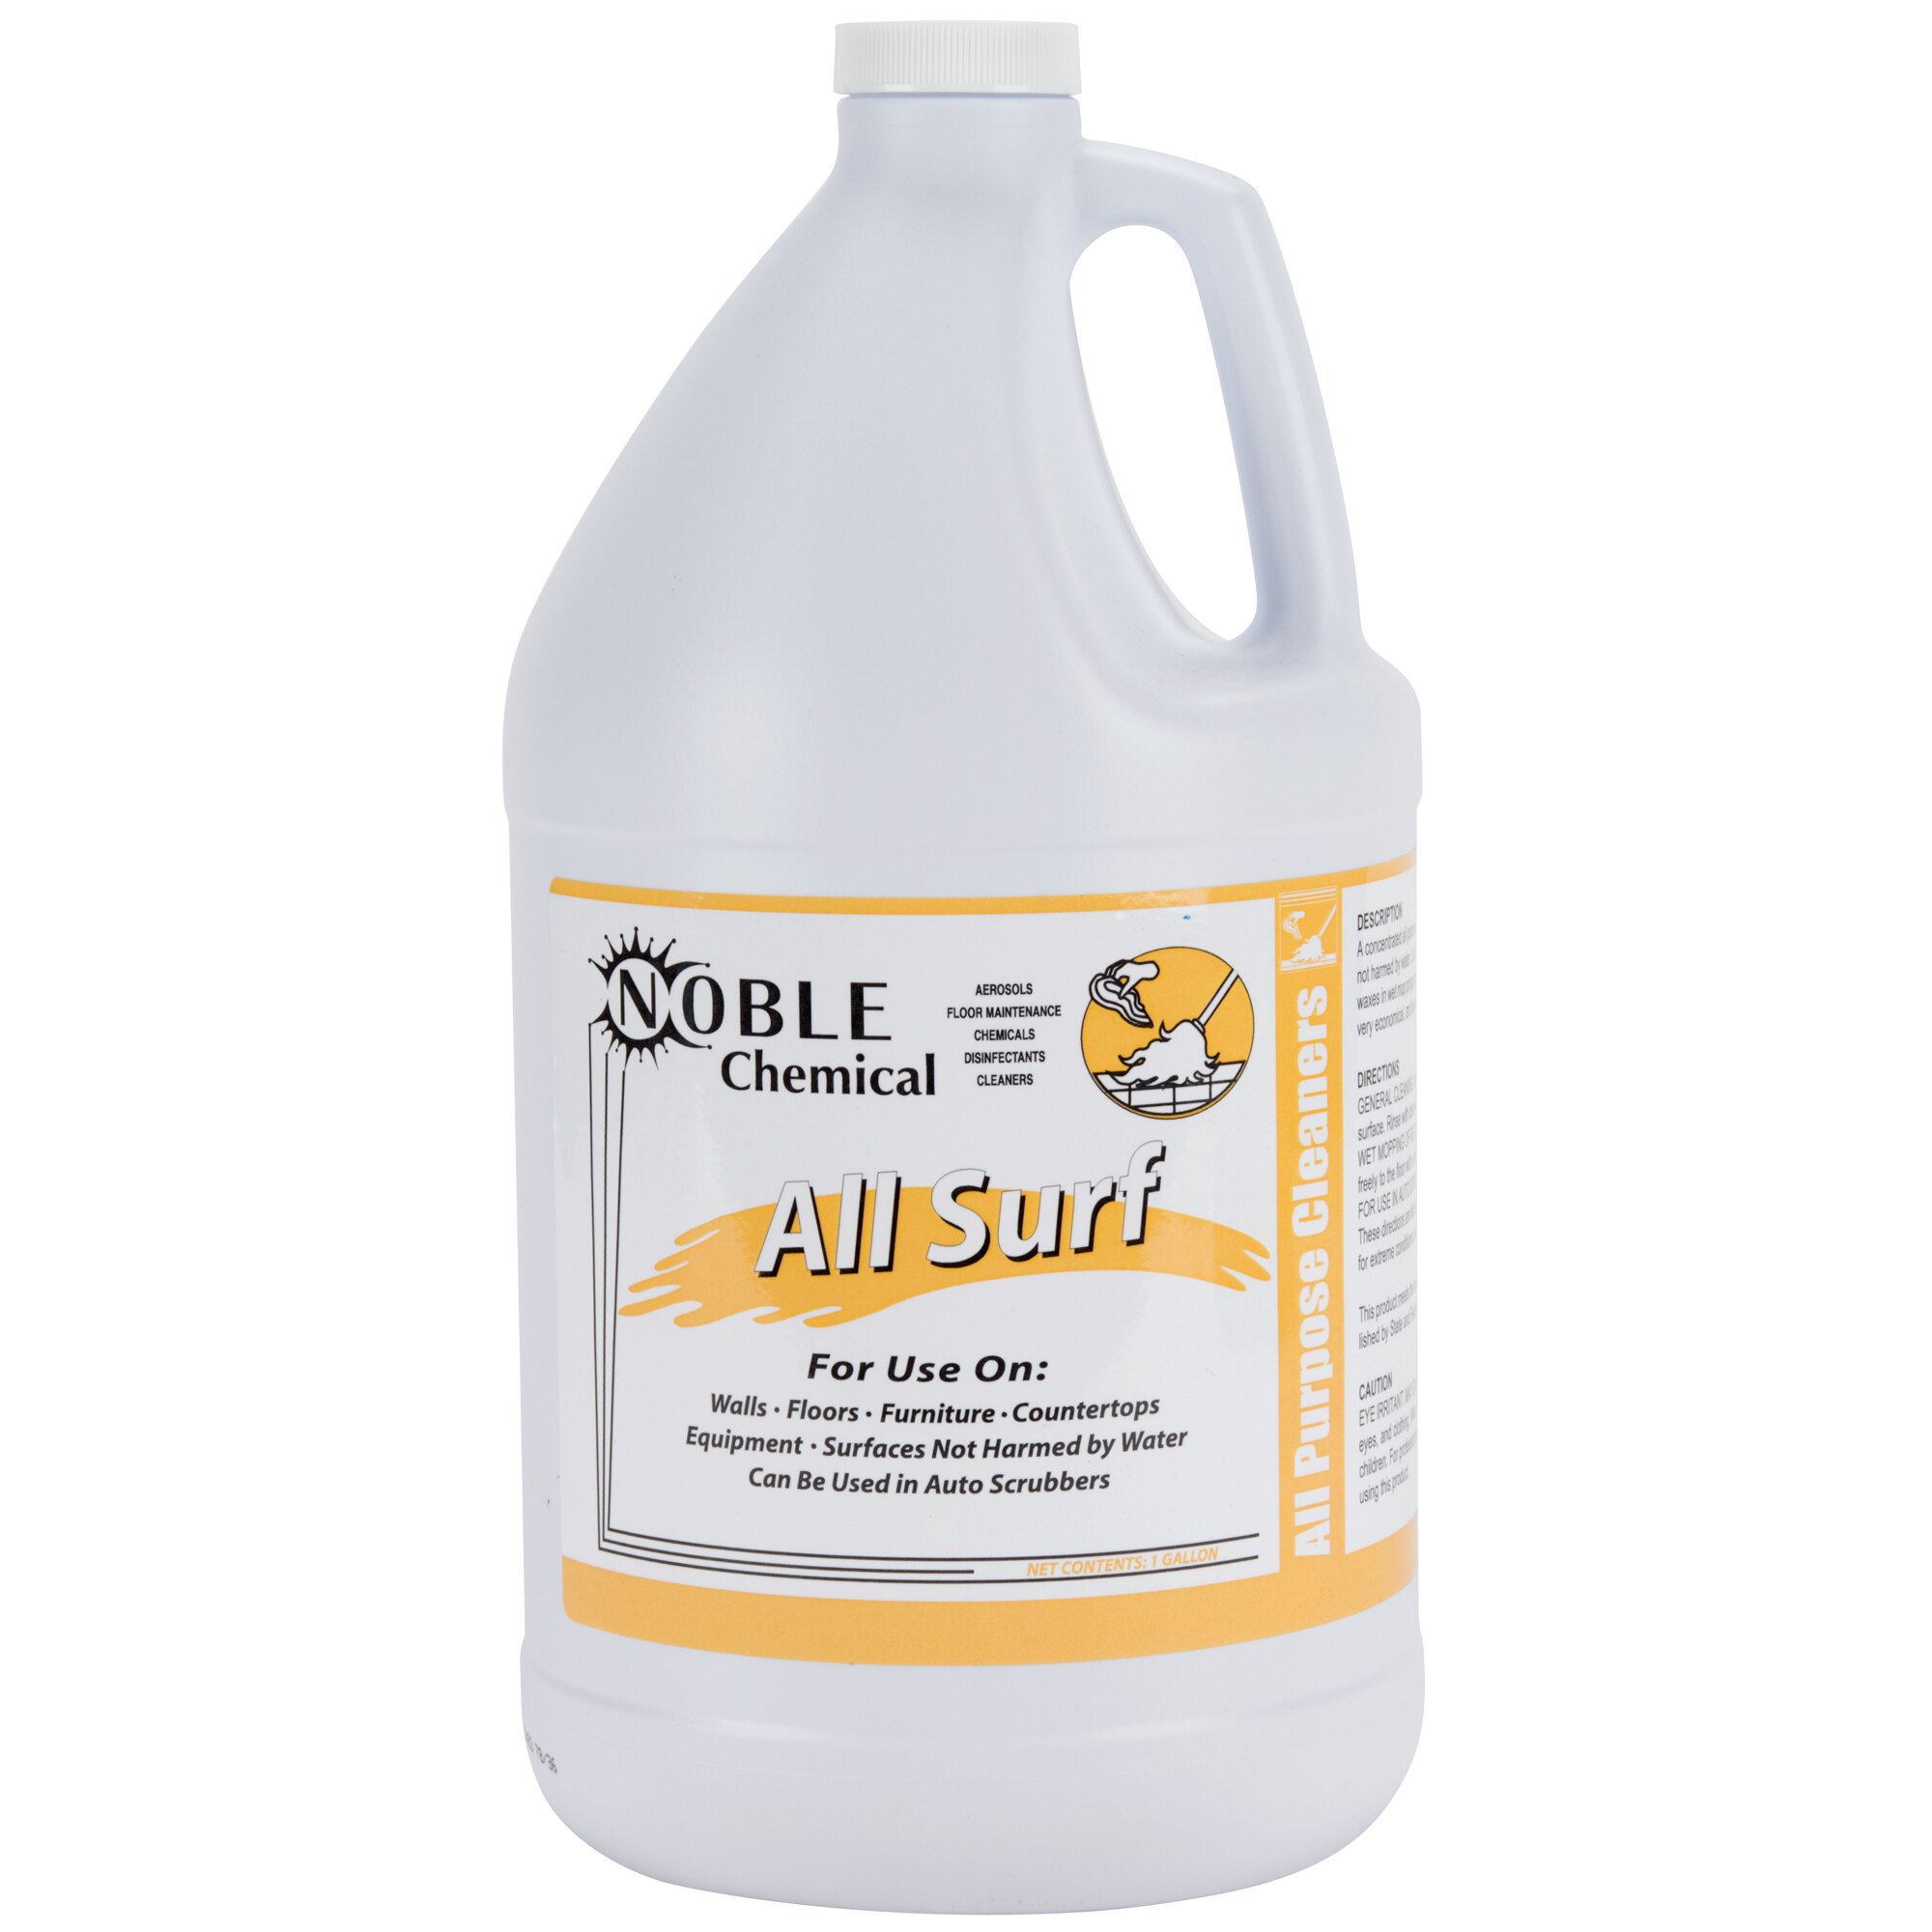
Types of Floor Cleaning Chemicals
Ideal for: Vinyl tile, vinyl sheet, asbestos, linoleum, rubber tile, concrete, flagstone brick, terrazzo, and sealed wood
- Heavy Cleaning
- General Cleaning
- Compatible with Auto Scrubbers
- Used as Mopping Solution
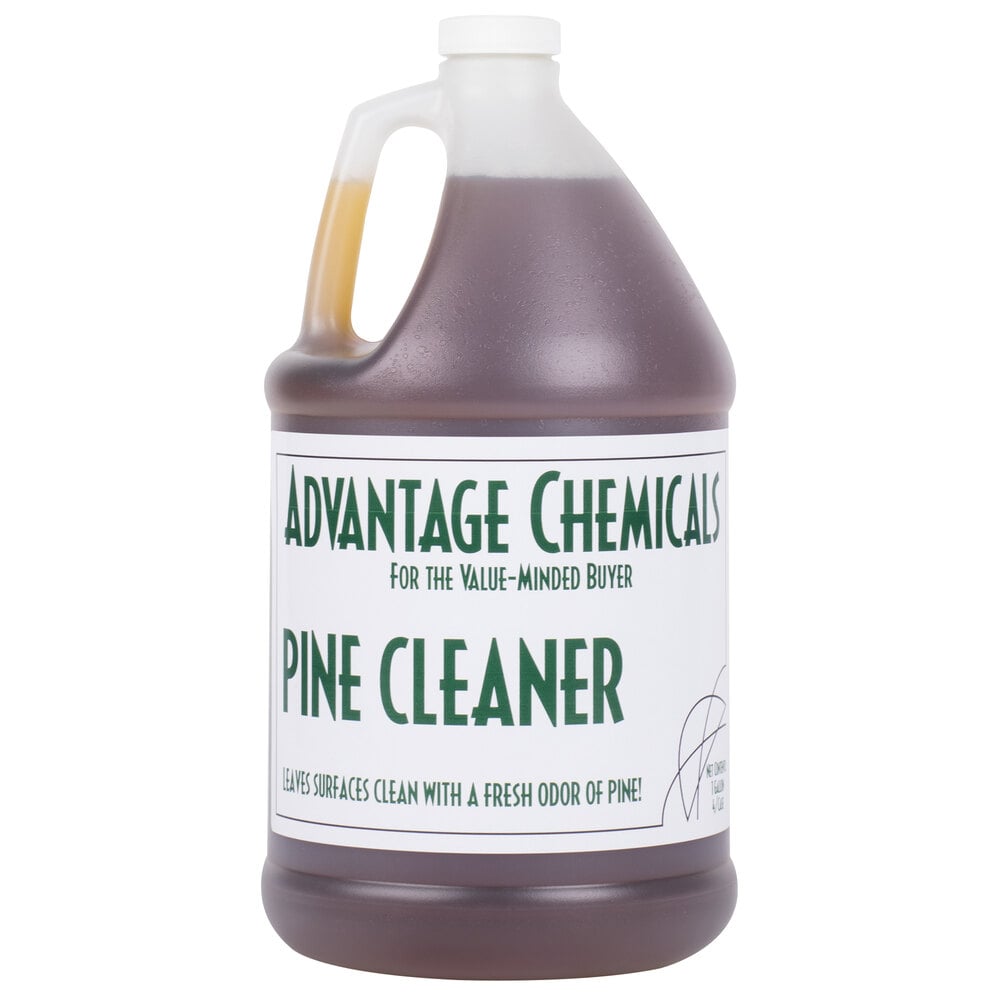
Ideal for: Porcelain, chrome, plastic, linoleum, and vinyl
- Heavy Cleaning
- General Cleaning
- Compatible with Auto Scrubbers
- Used as Mopping Solution
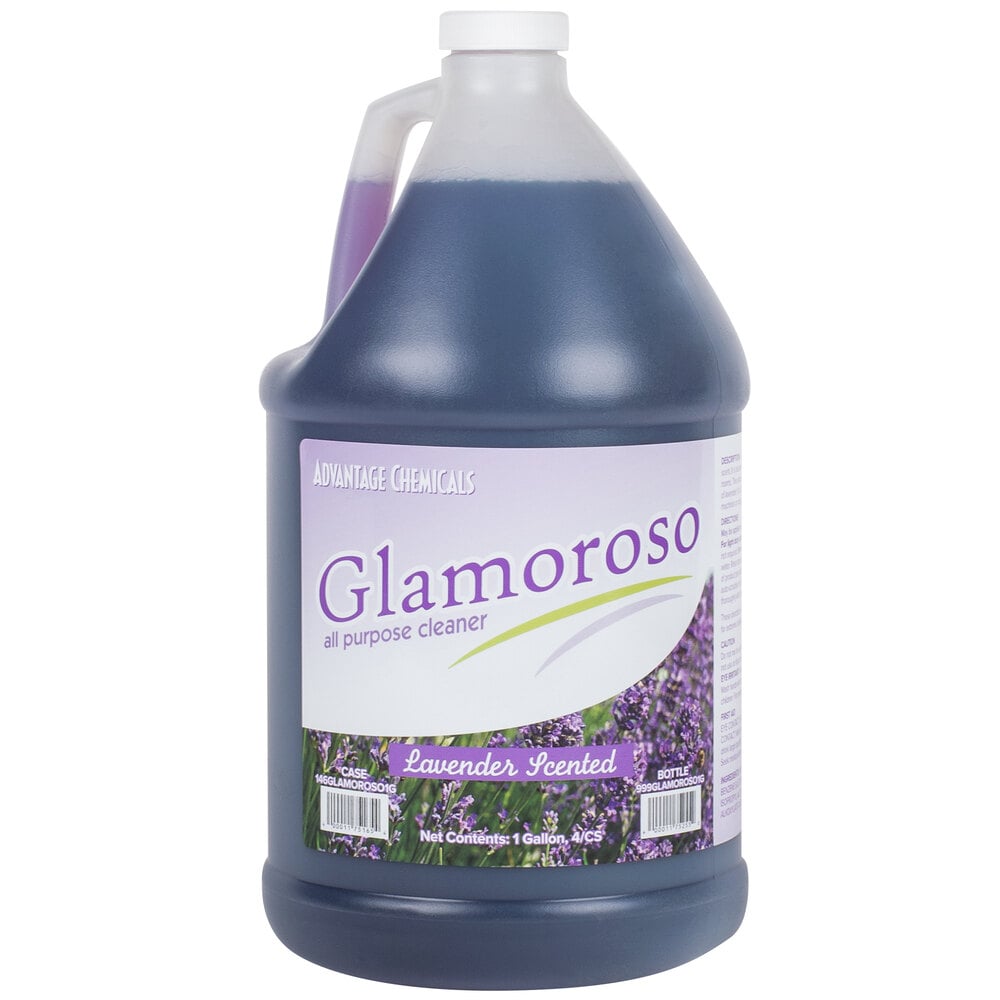
Ideal for: Concrete, porcelain, chrome, plastic, and vinyl
- Heavy Cleaning
- General Cleaning
- Compatible with Auto Scrubbers
- Used as Mopping Solution
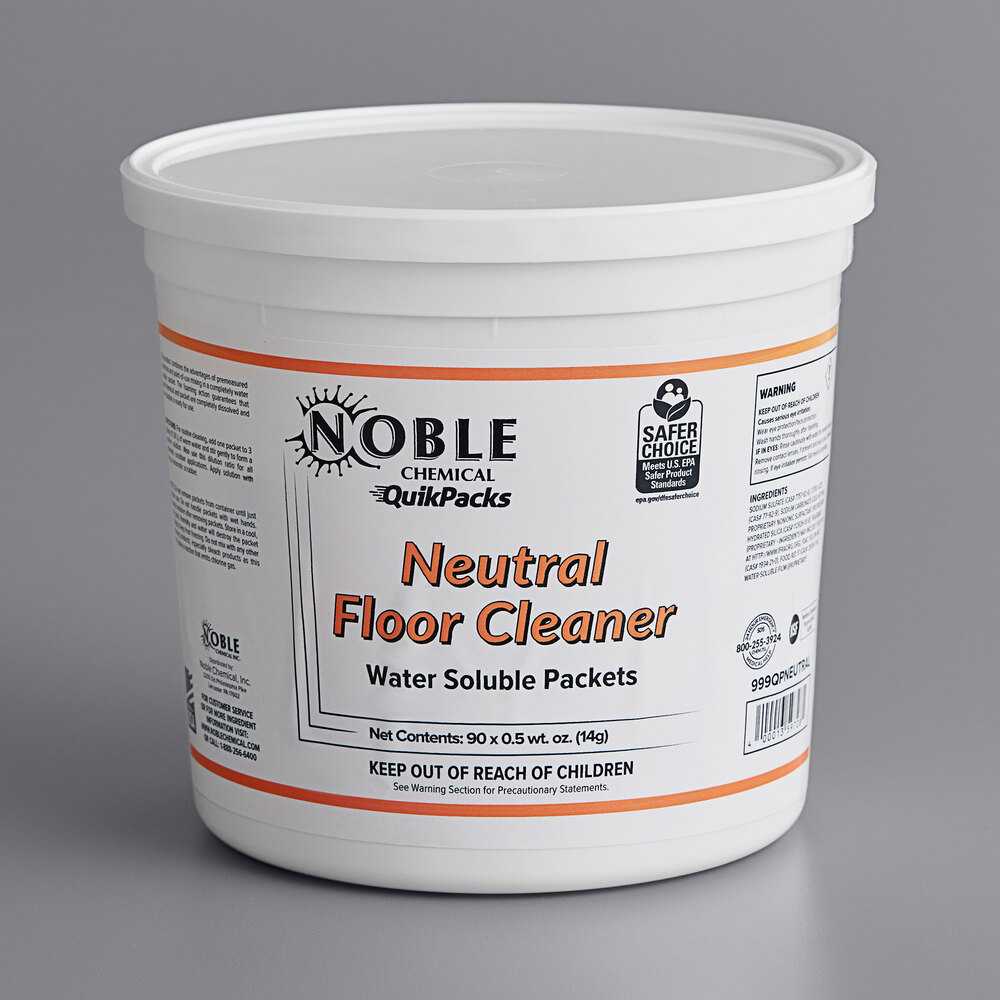
Ideal for: Vinyl, linoleum, rubber tile, concrete, and ceramic tile
- Heavy Cleaning
- General Cleaning
- Compatible with Auto Scrubbers
- Used as Mopping Solution
Ideal for: Concrete, ceramic tile, quarry tile, grout, and rubber mats
- Heavy Cleaning
- General Cleaning
- Compatible with Auto Scrubbers
- Used as Mopping Solution
Ideal for: Terrazzo, marble, slate, vinyl and vinyl asbestos, asphalt tile, ceramic tile, and quarry tile
- Heavy Cleaning
- General Cleaning
- Compatible with Auto Scrubbers
- Used as Mopping Solution
How to Strip a Floor
1.) Choose a floor stripping chemical that's appropriate for your floor type. Follow your floor manufacturer's suggestions in regards to cleaning chemicals. Often using the same brand as the last floor wax you used will yield desirable results. Refer to the chart below for more information on matching the right chemical to your floor type.
2.) Ensure proper ventilation in the area you are working in. It is important to wear protective clothing and start by testing your stripper in a small corner.
3.) Determine how you'll divide the floor and in which direction you'll be moving. This is important to decide before you've started so as to avoid letting the finisher harden or trapping yourself away from the exit. Work farthest from the exit, and plan on stripping about 100 foot sections at a time using your floor scrubber.
4.) Line three buckets or small trash cans with trash can liners. Fill one with the water and stripper solution, another with clean water, and the third with your tools including scrubbers and scrapers. Be sure to stock up on safety apparel for you and your employees including gloves, safety glasses/goggles, dust masks, and protective coats.
5.) Use a mop to apply stripper in small sections. Thoroughly coat the floor, but be sure not to saturate or flood the area. Its important to test new products in a small, not immediately visible area first to ensure they work well and won't cause permanent damage to your floors.
6.) Use your floor stripper according to the instructions. This will scrape away wax build up. Use any other scrapers or brushes you've stored in your bucket for hard to reach areas including corners and up against baseboards if necessary.
7.) Remove the wax buildup and stripper solution. Use a wet-dry vacuum, squeegee, or a squeegee attachment on your floor scrubber.
8.) Repeat these steps in sections to let the stripper soak in before scrubbing. If necessary, repeat over sections of flooring that have more build up.
9.) Mop the floors with clean water and allow to dry. This ensures all stripper and wax residue is removed from the floor surface.
Floor Stripping Chemicals
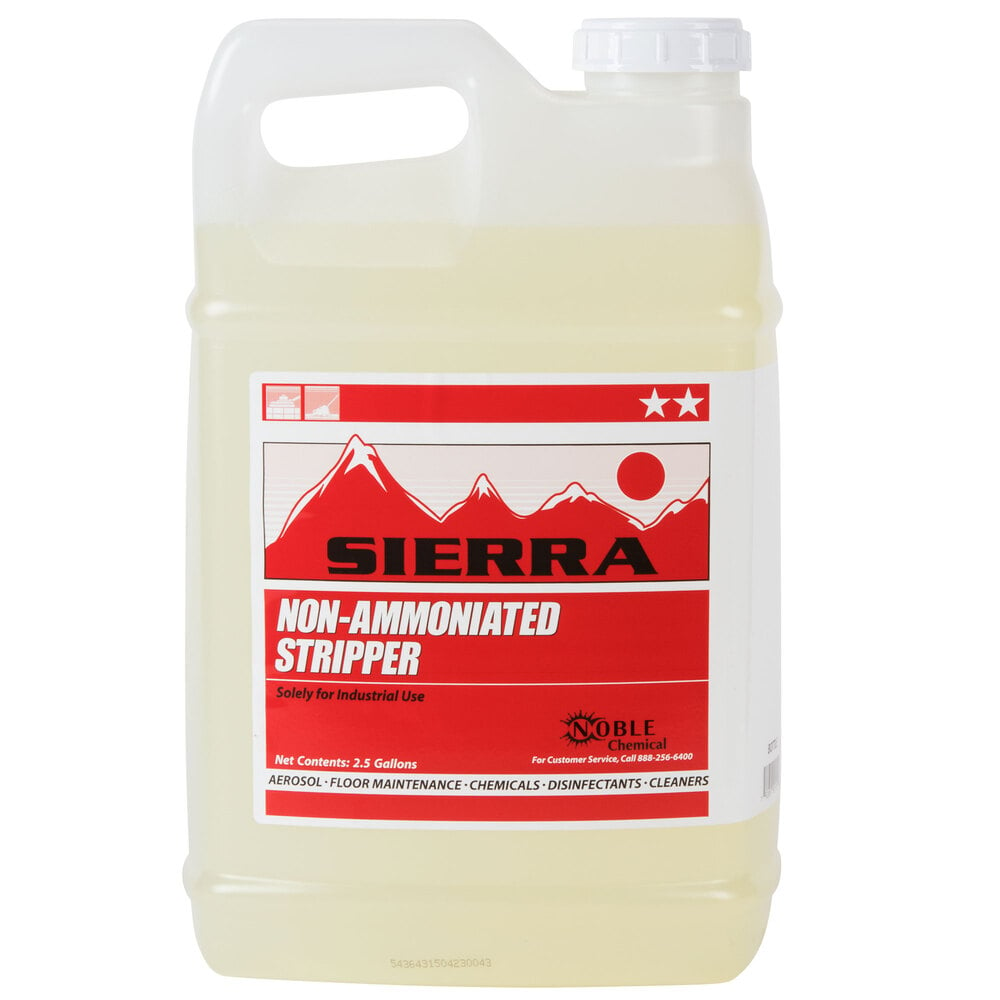
Ideal for: Vinyl tile, vinyl asbestos, asphalt tile, linoleum, rubber tile, concrete, flagstone, terrazzo, and ceramic tile
- Light/Normal Stripping
- Heavy-Duty Stripping
- Floor Machine Stripping
Ideal for: Vinyl tile, vinyl asbestos, asphalt tile, linoleum, rubber tile, concrete, flagstone, terrazzo, and ceramic tile
- Light/Normal Stripping
- Heavy-Duty Stripping
- Floor Machine Stripping
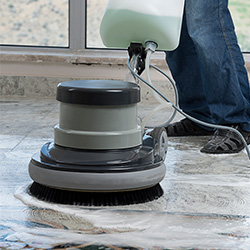
How to Use a Floor Stripping Machine
2) Apply a stripping pad to your floor stripping machine. Many manufacturers use a black pad to indicate a pad meant for stripping, although that could differ depending on the manufacturer.
3) Power on the machine and set it to a low speed setting if there are variable speeds on your stripping machine. If the stripper has worked effectively the finish should be soft enough to be agitated and removed without requiring high orbital speed.
*If you are finding that a low speed setting is insufficient, you may attempt higher speeds. If none of the speed settings seem to be removing the finish, the stripper may have not been given enough time to emulsify the finish.
4) Work the machine in small circular patterns across the floor. You should see the finish being displaced from the flooring. For larger rooms it may be necessary to switch out the pad if you're finding the machine is struggling to loosen up the finish from the floor. For safety, be sure to unplug the machine before changing out pads.
How to Wax a Floor
1.) Read all instructions found on your floor wax or finisher. Depending on the product and its ingredients, procedures and dry times may vary.
2.) Use a brand new mop head. Using a new mop head each time you wax is important for not setting dirt and grime back into your floors.
3.) Ensure proper air flow. Most finishes do not contain as many harsh chemicals as floor stripper. However, it's good to avoid inhaling too many fumes by allowing fresh air to circulate the room.
4.) Line a bucket or small trash can with a trash can liner and fill with wax. This makes the wax more accessible as you mop the floors. When you're done using it, simply dispose of the wax-filled liner for easy clean-up.
5.) Dip your mop in the bucket and apply a thin coat of wax to the floor. Avoid soaking the mop and use a wringer to get rid of excess wax if necessary before making contact with the floor. Work toward the exit to avoid becoming trapped.
6.) Allow time for wax to dry completely. How long it takes the wax to dry will depend on the temperature and humidity level in the room. The wax should be completely dry before moving on to the next step to ensure it has been properly attached to the floor.
7.) Repeat the application process as necessary. Most floors will require 2 to 5 layers of wax. However, be sure each layer is completely dry before beginning the next. This will avoid any unsightly wax buildup.
8.) Buff and polish using a floor machine to obtain a brilliant, glossy shine.
Once you've determined what machine would work best for you, be sure to find a compatible floor pad. They also play a role in ensuring the overall cleanliness of your floor. There are many different pad options that are designed for specific jobs and floor types. Before you go to make your purchase, be sure you know how to choose a floor pad.

Rotary floor machines can accommodate pads, discs, and bonnets that are both up to 1" larger and smaller than the "standard" pad size. For example, if a machine lists its pad size as 12", it is compatible will all 11" and 13" pads as well.
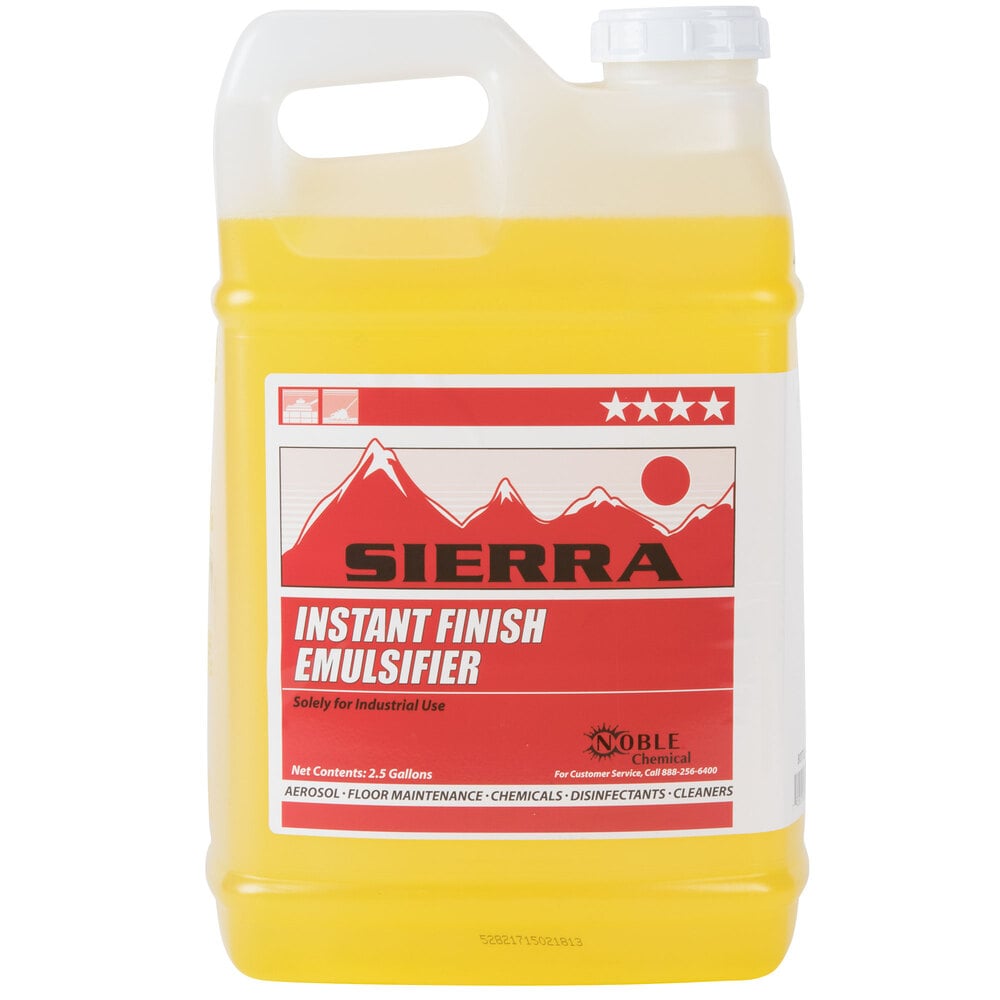
Floor Finish Chemicals
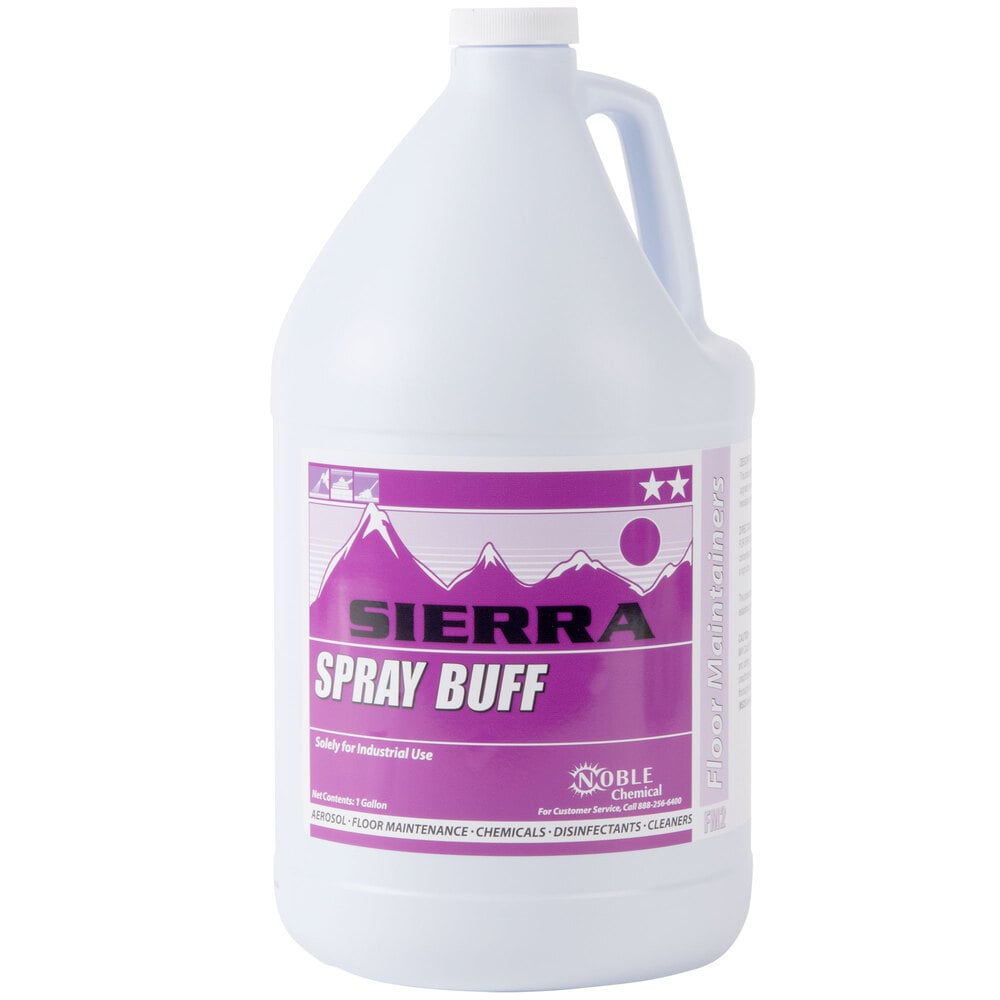
Ideal for: Vinyl tile / vinyl asbestos, Asphalt tile, Linoleum, Rubber tile, Terrazzo, Sealed wood, Quarry Tile, Marble
- Removes scuff marks
- Increases gloss of floor
- Can be used with rotary floor machines
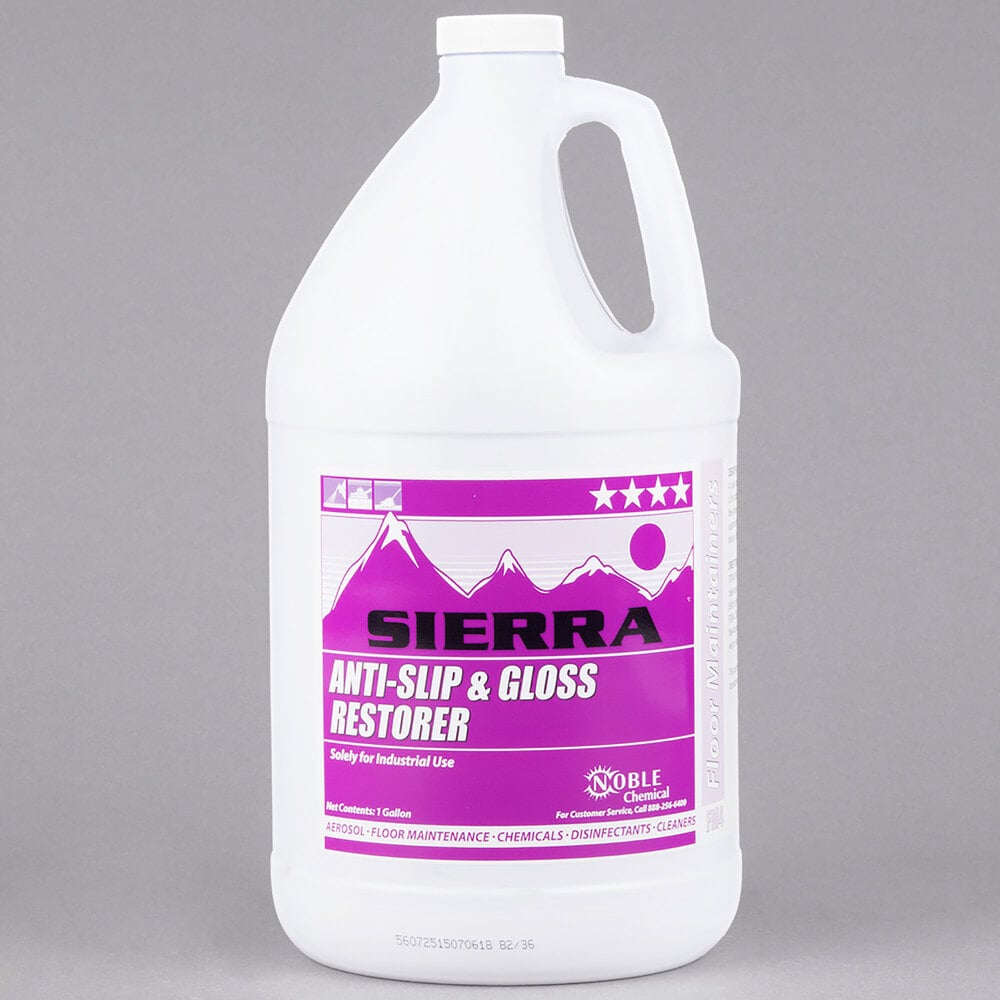
Ideal for: Vinyl tile / vinyl asbestos, Asphalt tile, Linoleum, Rubber tile, Terrazzo, Sealed wood, Quarry Tile, Marble
- Creates anti-slip surface
- Increases gloss of floor
- Can be used with rotary floor machines
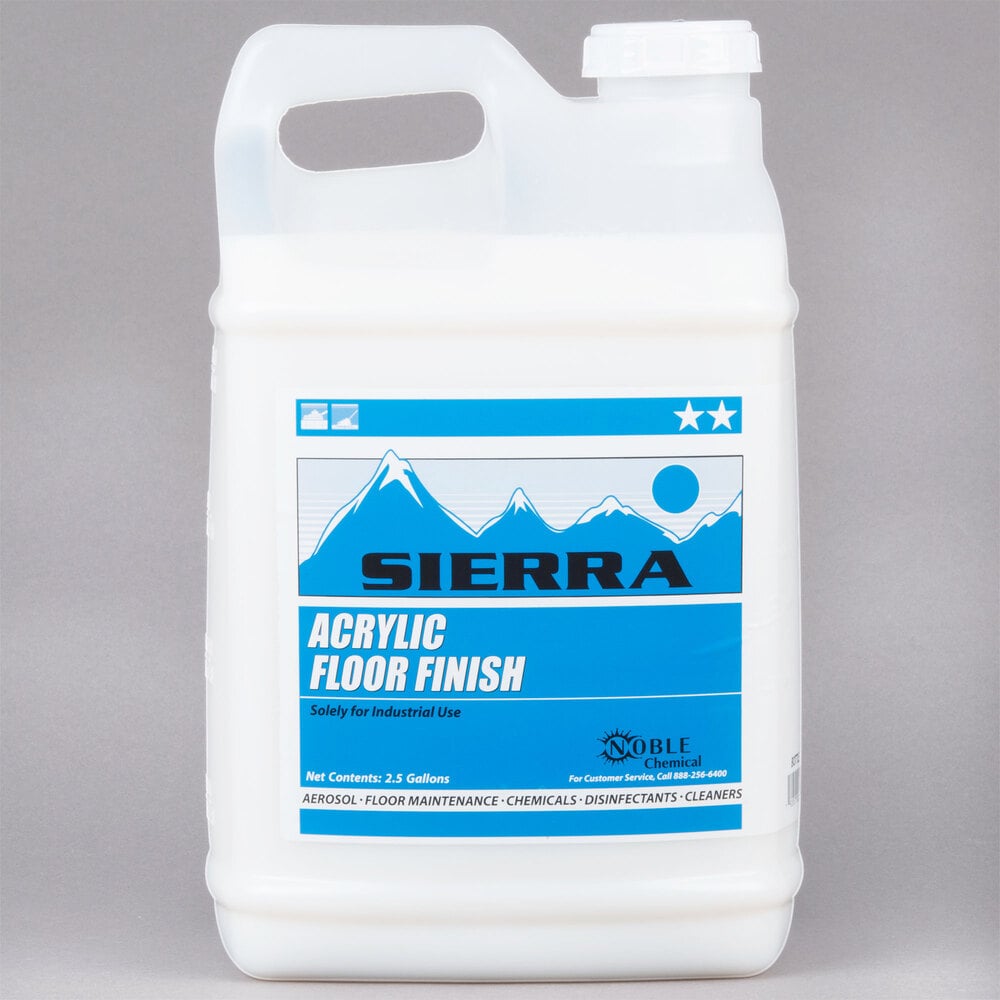
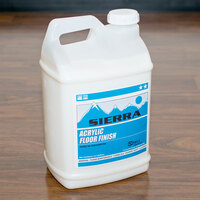
Ideal for: Vinyl tile / vinyl asbestos, Asphalt tile, Linoleum, Rubber tile, Concrete, Flagstone, Terrazzo, Ceramic Tile
- Hard acrylic finish
- Increases gloss of floor
- Can be spray-buffed
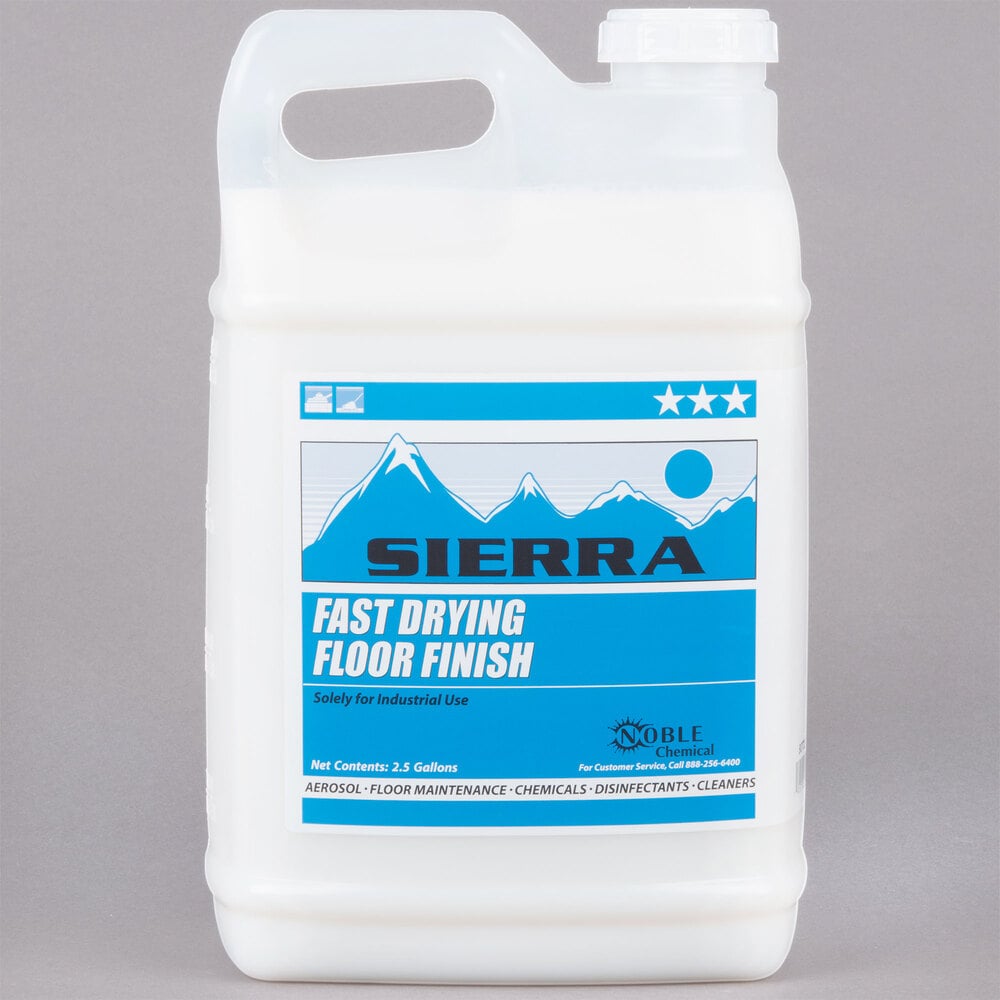
Ideal for: Vinyl tile / vinyl asbestos, Asphalt tile, Linoleum, Rubber tile, Terrazzo, Sealed Wood, Quarry Tile
- Creates hard and durable finish
- Increases gloss of floor
- Dries much faster than comparable finishes
Ideal for: Vinyl tile / vinyl asbestos, Asphalt tile, Linoleum, Rubber tile, Terrazzo, Sealed Wood, Quarry Tile
- Designed for areas of high traffic
- Can be used with high speed floor equipment
- Increases gloss of floor
How to Use a Floor Buffer Machine
1) Your first step will be to make sure that your floor buffer is unplugged.
2) Once this is confirmed, place your floor pad onto the floor pad holder. Be sure that you are centering the pad as much as possible for optimal performance. Once the pad is on, the holder can be placed onto the machine, and the machine can be slowly lowered.
3) If you have rear wheels on your machine make sure that they are lifted up off of the ground before proceeding.
4) Pull the handle down to an angle position and lock it into place if possible
5) Power the machine on. Once it is, on the machine should begin to move slightly by itself from left to right. Balance the pad as much as possible, working in a slow lateral motion across the floor.
Related Resources
Cleaning, Sanitizing, Disinfecting: What’s the Difference?
An essential part of running a successful business is maintaining a clean environment. Whether you stay on top of your cleaning by using a cleaning checklist or schedule, ensuring that your location is cleaned regularly can help keep your staff and customers healthy. It's important to understand the different depths of cleaning to decide what method and practices you should take in your location to slow the spread of diseases and viruses. We'll be exploring the differences between cleaning, sanitizing, disinfecting, and sterilizing so that you can best incorporate them into your janitorial regimen. *Click here to see the CDC's recommendations for preventing the spread of Coronavirus . Shop All Cleaning Supplies What Is the Difference Betwee
Restaurant Cleaning Checklist
Cleaning, sanitizing, and disinfecting are incredibly important in the foodservice industry to prevent cross-contamination and the spread of viruses. But, with so many things to clean in a restaurant, it can be difficult to remember all of the individual cleaning tasks that you need to take care of and how regularly you need to clean your equipment. To lessen the burden, we created this restaurant cleaning checklist that your employees can use to keep track of the cleaning tasks that need to be completed. Pair this commercial kitchen cleaning checklist with our wide selection of restaurant cleaning supplies . Click below for our downloadable restaurant cleaning checklist PDF that your employees can use as they're cleaning. Printable Cleanin

Restaurant Safety Tips
With sharp equipment, open flames, and tight spaces, there are many safety risks present in a restaurant. To keep your establishment safe for employees as well as customers, it's important to be aware of these hazards and minimize them as much as possible. Keep reading for our guidelines on how to train your employees, operate equipment, and prevent fires and common injuries to ensure that your restaurant operates safely for everyone. Shop All Safety and Security Products 1. Train Your Employees in Restaurant Safety Procedures To maintain a safe working environment, staff members must follow safety procedures. Your kitchen is only as safe as your employee who has received the least amount of training. For this reason, investing time i
- Topics 1357
- Industrial 55
- Troubleshooting Guides 21
- Restaurant Management 128
- Bar Management 56
- Catering Tips 36
- Bakery Management 42
- Food Trucks & Concessions 49
- Advertising & Marketing 37
- Eco-Friendly Tips 11
- Facility Layout & Design 42
- Coffee Shop Tips 28
- Installation & Maintenance 51
- Janitorial & Pest Control 30
- Safety & Sanitation 88
- Startup Tips 104
- Menu Design 10
- Kitchen & Cooking Tips 84
- Hospitality Management 24
- Pizza & Sandwich Shop Tips 36
- Smallwares 37
- Food Prep 89
- Tabletop Items 17
- Disposables 22
- Calculators & Tools 6
- Consumables 52
- Warewashing & Laundry 19
- Cooking Equipment 91
- Food Storage & Refrigeration 51
- Beverage Equipment 35
- Office Supplies 6
- Resource Type
- In-Depth Articles273
- Buying Guides298
- How-Tos95
- Product Reviews78
Join Our Mailing List
Receive coupon codes and more right to your inbox.